 EN
EN
 FR
FR DE
DE PT
PT ES
ES AR
AR BG
BG HR
HR CS
CS DA
DA FI
FI NL
NL EL
EL IT
IT JA
JA KO
KO NO
NO PL
PL RO
RO RU
RU SV
SV CA
CA TL
TL IW
IW LV
LV LT
LT SR
SR SK
SK SL
SL ET
ET MT
MT TH
TH FA
FA AF
AF MS
MS SW
SW GA
GA KA
KA
1×2m Vertical Light Box: Portability & Placement Determine Its Performance!
Time : 2026-01-16
1×2m Vertical Light Box: Portability & Placement Determine Its Performance!
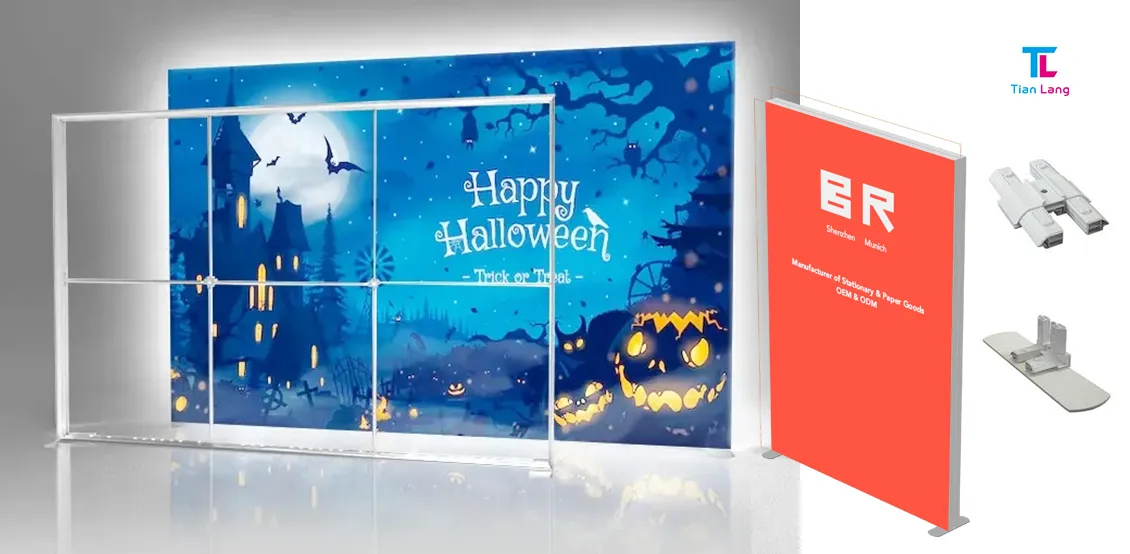
The 1×2m Vertical Small Light Box stands out as a popular display tool for retail stores, exhibition booths, restaurants, and event venues, thanks to its moderate size, excellent portability, and eye-catching visibility. It not only highlights product selling points and guides customer flow but also adapts flexibly to different spaces. However, many users overlook the importance of proper moving and scientific placement: incorrect handling can cause damage to the light box, while improper placement wastes its customer-drawing potential.
I. Safe Moving Guide for 1×2m Vertical Light Box: Avoid Damage & Move Easily
A 1×2m vertical light box (LED version with aluminum alloy frame) usually weighs 8–15kg. Though not overly heavy, it contains glass/acrylic panels and LED light sources, so key parts like panels, power interfaces, and frame structures need special protection during moving. Follow these specific steps:
1. Pre-Moving Preparation: 3-Step Inspection to Eliminate Hidden Risks
- Power Off & Organize: First, turn off the power, unplug the power cord, and wrap it up for storage (to prevent wire damage caused by dragging). If the light box has a detachable poster, it is recommended to remove it (to avoid scratches during moving).
- Accessory Check: Ensure that frame buckles and foot screws are tightened. For models with casters, check if the casters can be locked smoothly and confirm there are no loose parts (to prevent damage from falling during moving).
- Tool Preparation: For models without casters, prepare non-slip gloves, a folding hand truck (load capacity ≥20kg), and bubble wrap (to cover panel edges). For long-distance transportation, use a reinforced carton with foam filling.
2. Short-Distance On-Site Moving: 2 Safe & Efficient Methods
- Single-Person Handling (for lightweight models):Put on non-slip gloves, hold the lower middle parts on both sides of the light box with both hands (avoid panel edges to prevent cracking), keep the light box vertical to the ground, and move it slowly and smoothly.
- Two-Person/Tool Handling:When two people cooperate, one person supports the top frame and the other supports the bottom feet, moving vertically in sync. When using a hand truck, first lean the light box against the truck baffle at an angle, secure it with straps, and face the panel inward to avoid collisions.
3. Long-Distance Transportation: 3 Key Damage Prevention Tips
- Detach separable components (e.g., feet, power cords) and pack them separately.
- Wrap the panel with 2–3 layers of bubble wrap and attach anti-collision strips to frame corners.
- Place the light box in a custom reinforced carton, fill the interior with foam blocks (to eliminate gaps and prevent shaking during transportation), and mark “FRAGILE, KEEP UPRIGHT” on the carton.
Moving Pitfall Guide (High-Frequency Mistake Warning)
❌ Do NOT lift the light box by its top with one hand (may cause frame deformation and panel cracking due to uneven force).❌ Do NOT drag the light box on rough ground (may scratch bottom feet or casters).❌ Do NOT stack heavy objects on the light box during transportation (may crush panels and internal light sources).✅ Core Principle: Always keep the light box vertical, and prioritize protecting the panels and power interfaces.
II. Scenario-Based Placement Guide for 1×2m Vertical Light Box: Drive Target Traffic & Double the Effect
The core logic of placement is aligning with scenario needs + highlighting visual focus + not obstructing traffic flow. Placement skills vary significantly across different scenarios. Here are practical solutions for high-frequency use cases:
1. Retail Stores: Guide Customer Flow & Highlight Products
-
Ideal Placement Locations:
- Entrance Area (place on left/right side without blocking the door): Display best-selling products or promotion information (e.g., “New Arrivals”, “Buy One Get One 50% Off”) to attract customers into the store.
- Intersections of Shelf Aisles: Use it as a “guide sign” to point to core product categories (e.g., snack section, daily necessities section).
- Next to Cashier Counters: Showcase member activities or small-value premium products (e.g., “Spend $50+, get a gift for only $9.9 more”) to increase average transaction value.
- Placement Tips:Keep the bottom of the light box 10–15cm above the ground (to prevent bottom damage from floor moisture). Align the center of the poster with the eye level of adults (1.5–1.6m height) for instant visibility. Avoid direct sunlight exposure (to prevent panel glare and ensure clear visibility), and prioritize placement in dimly lit areas (to highlight the light box brightness).
2. Exhibition/Event Venues: Attract Attention & Convey Brand Value
-
Ideal Placement Locations:
- Both Sides of Booth Entrance: Place two light boxes symmetrically to display brand logos or core themes (e.g., “Tianlang Light Box · One-Stop Display Solutions”) and strengthen brand recognition.
- Next to Product Display Zones: Place it alongside exhibits and label product selling points (e.g., “Modular Design”, “Professional Service”) to support on-site explanations.
- Along Walkways: Tilt the light box 10–15° toward the direction of pedestrian flow (without blocking the passage) to attract passing visitors to stop and view.
- Placement Tips:Choose unobstructed “visual blank areas” (avoid large display boards and green plants). Keep a distance of ≥1.5m between light boxes (to prevent overcrowding). For light boxes with interactive functions (e.g., touchscreen models), place them in the center of the booth with matching seats to enhance visitor experience.
3. Restaurants/Cafés: Create Atmosphere & Deliver Information
-
Ideal Placement Locations:
- Both Sides of the Door: Display business hours and signature dishes (e.g., “Signature Coffee Buy One Get One Free”, “Dinner Service 17:00–21:00”).
- Corners of Dining Areas: Use it as a decorative light box to display brand stories or green plant patterns and create a warm atmosphere.
- Next to Cashier Counters: Showcase member benefits and recharge promotions (e.g., “Recharge $200, Get $50 Free”).
- Placement Tips:Keep it away from dining tables (to avoid collisions). Maintain a 30cm distance from walls (to facilitate heat dissipation and extend the light box lifespan). Adjust the light brightness to medium level (to prevent glare and avoid affecting dining experience), and ensure the color scheme matches the restaurant’s decoration style.
4. Outdoor Scenarios (e.g., Convenience Store Entrances, Event Outer Venues): Wind & Sun Protection for Stable Display
- Ideal Placement Locations:Choose flat ground (to prevent tilting). Place it near the entrance without occupying sidewalks (to comply with urban management regulations).
- Placement Tips:Secure the bottom feet with heavy objects (e.g., sandbags, non-slip mats) (the 1×2m light box has limited wind resistance, so this step prevents it from being blown over). Install a sunshade (to prevent panel aging from direct sunlight and extend service life), and keep it away from waterlogged areas (to avoid short circuits).
Summary of Core Placement Principles
| Principle | Specific Requirements |
|---|---|
| Visual Priority | Align the poster center with eye level; ensure no obstructions; avoid glare environments |
| Safety First | Do not block passages; secure firmly; keep away from fire sources and water |
| Scenario Adaptation | Adjust location and brightness based on usage scenarios to meet actual needs |
| Lifespan Extension | Facilitate heat dissipation; avoid direct sunlight and heavy object extrusion |
III. FAQ: Answers to High-Frequency User Questions
-
Can one person move a 1×2m vertical light box?Lightweight models (weight ≤10kg) can be moved by one person (follow the “single-person handling steps” in this guide). For models over 10kg, it is recommended to use a hand truck or ask for two-person cooperation to avoid muscle strain or light box damage.
-
Does the light box need to be powered on all the time when placed?There is no need for 24/7 power supply. You can set a timer switch according to business hours (e.g., 9:00–22:00 for retail stores). This not only saves energy but also extends the lifespan of the light source.
-
How to prevent the light box from tipping over when placed outdoors?Choose flat ground and secure the bottom feet with sandbags or non-slip mats. In windy areas, install windproof brackets or choose a 1×2m vertical light box with a weighted base.
-
What to do if the poster becomes unclear after placement?Check for glare (adjust the placement angle to avoid direct sunlight/lighting). If the panel is dusty, wipe it with a soft cloth. If the issue is with the light source, contact the seller to inspect the LED modules.
Conclusion: Proper Moving + Scientific Placement Maximize the Value of 1×2m Vertical Light Box!
The core advantage of the 1×2m vertical light box lies in its flexibility and portability. Only by mastering the correct moving methods (protecting panels and avoiding collisions) and scenario-based placement skills (driving targeted traffic and meeting on-site needs) can you avoid damage and enhance its usage effect.
Whether you are a retail store owner, exhibition builder, or event planner, following the guidelines in this article will turn your small light box into a customer-drawing tool, extend its service life, and reduce replacement costs. If you need a customized 1×2m vertical light box for specific scenarios or want to learn more details about moving and placement, feel free to contact us for professional solutions!