EN
 FR
 DE
 PT
 ES
 AR
 RU


- Overview
- FAQ
- Recommended Products
- Front panel: brand name, campaign headline or product promise.
- Side panel: supporting image, short proof point, category label or directional message.
- Worktop: live product, sample, brochure, demonstration tool or registration device.
- Interior shelf: operational storage rather than a crowded public-facing display.
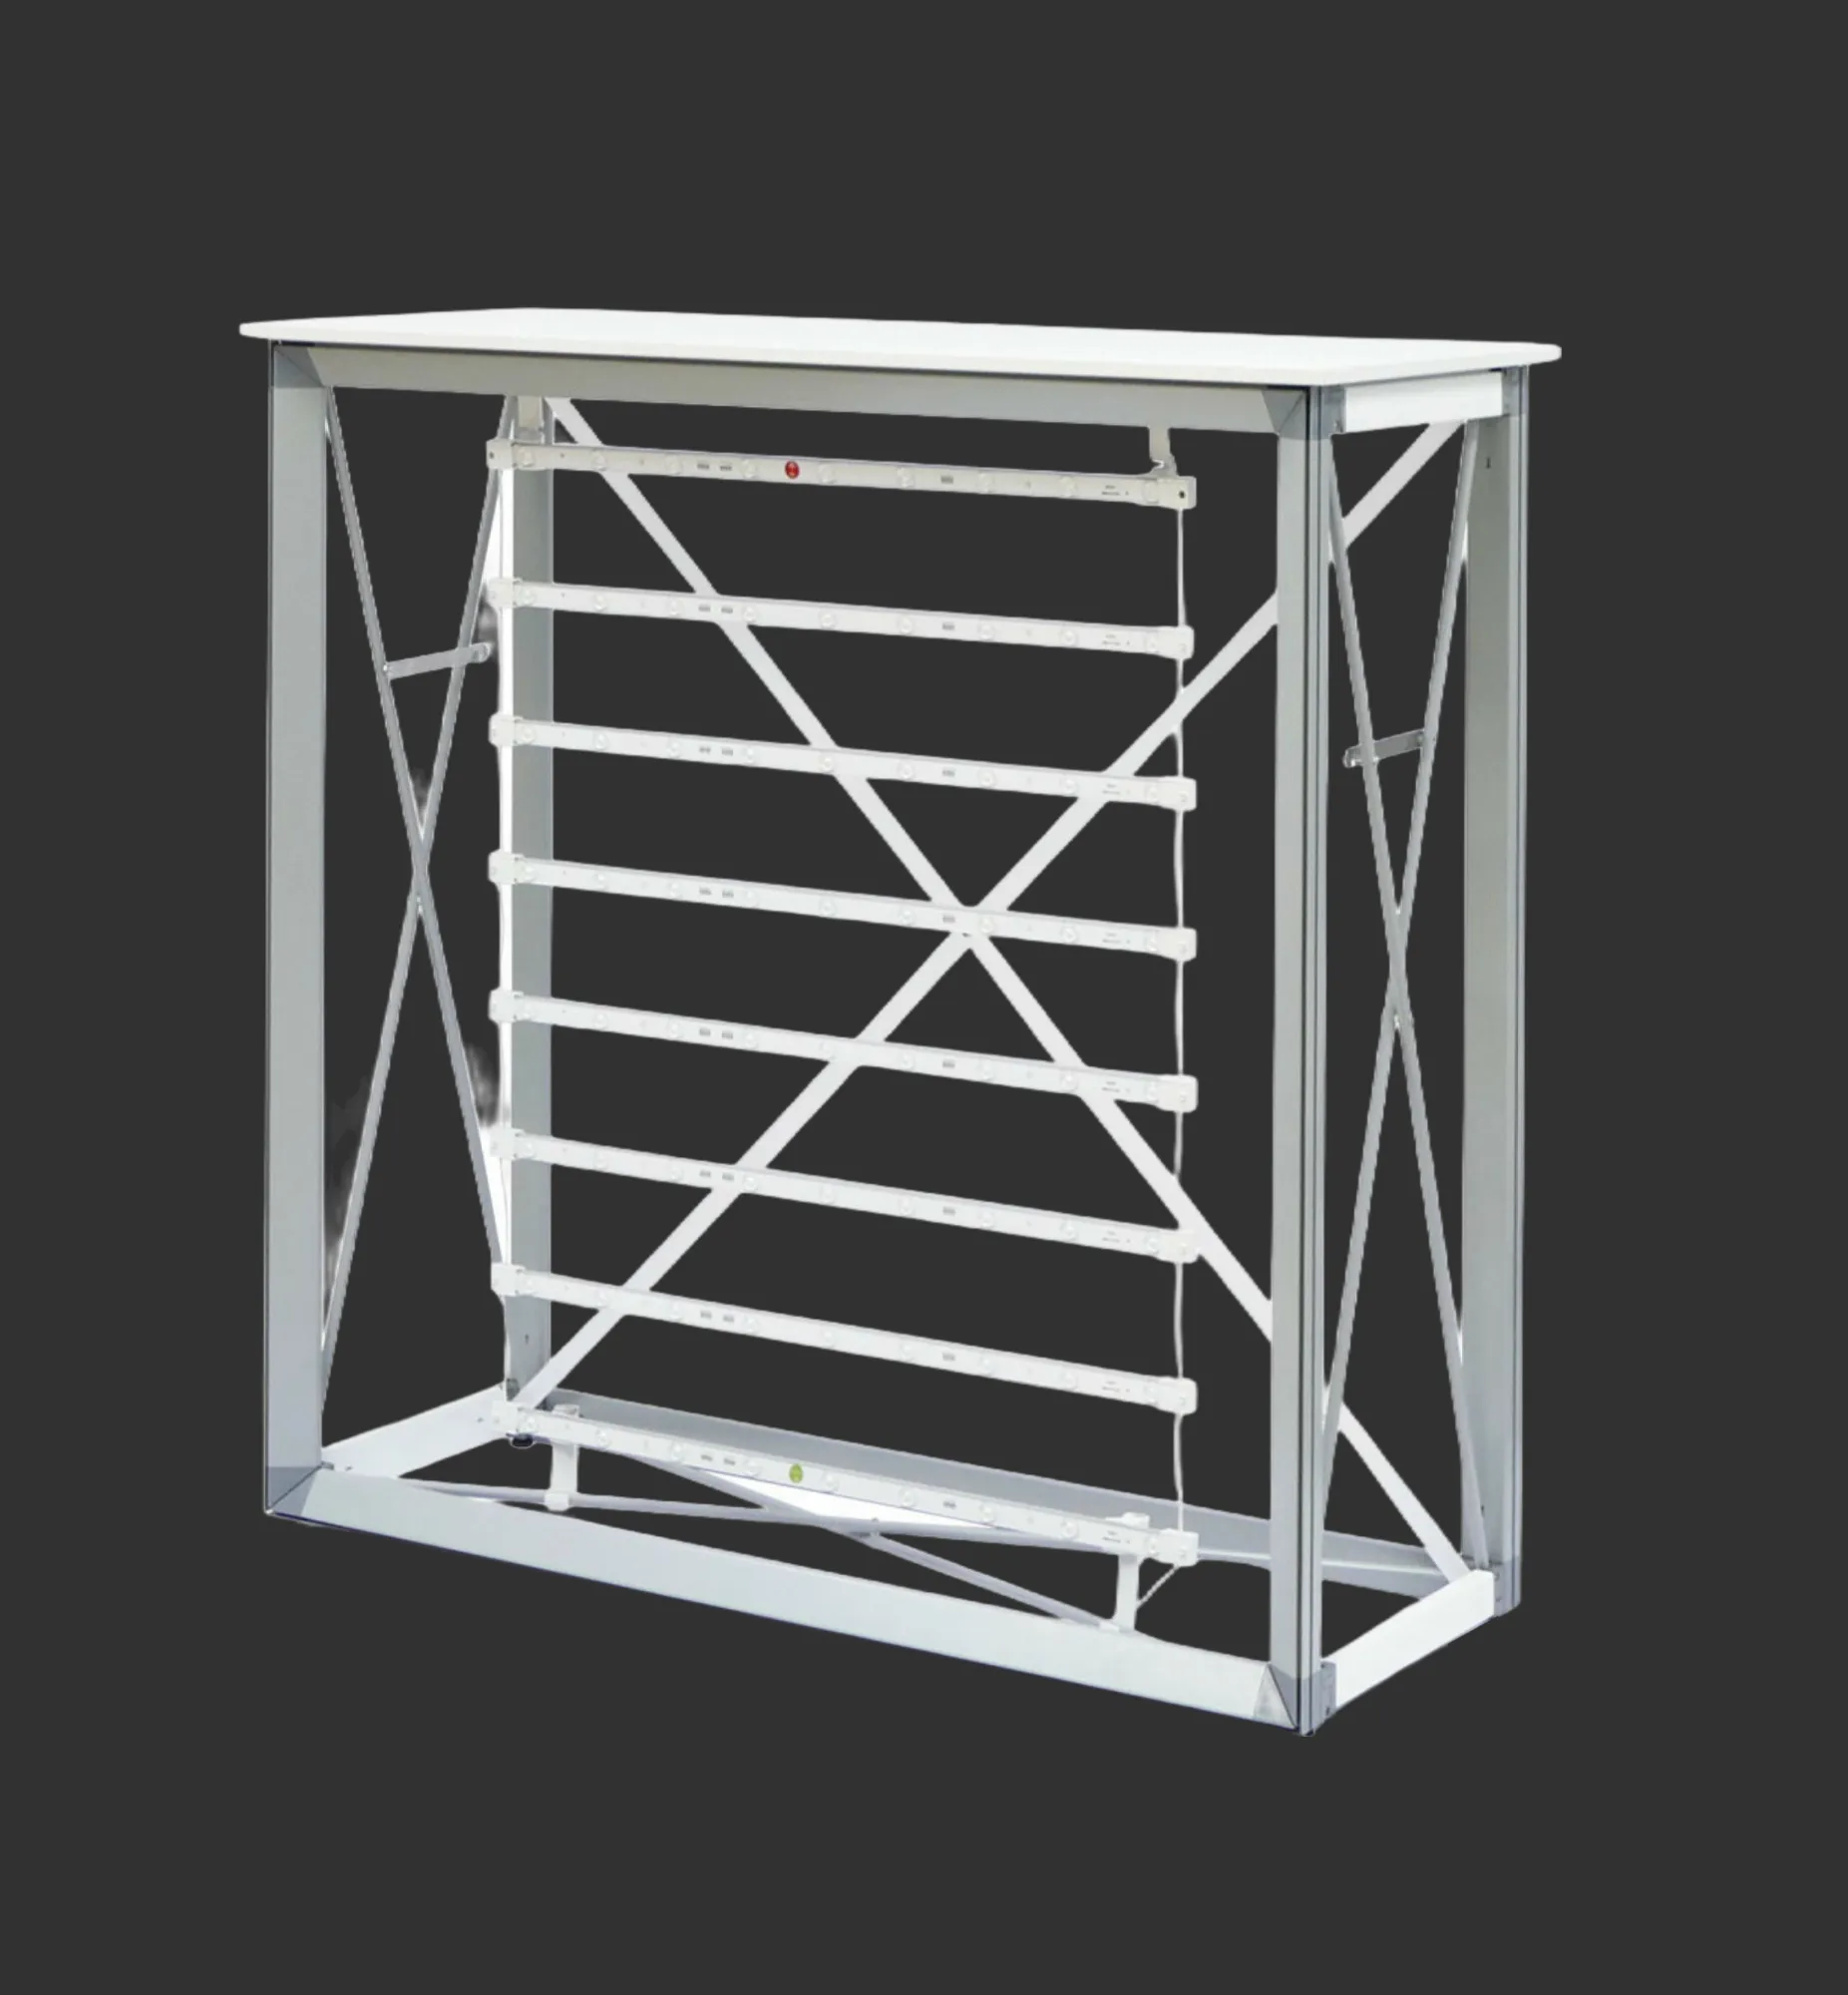
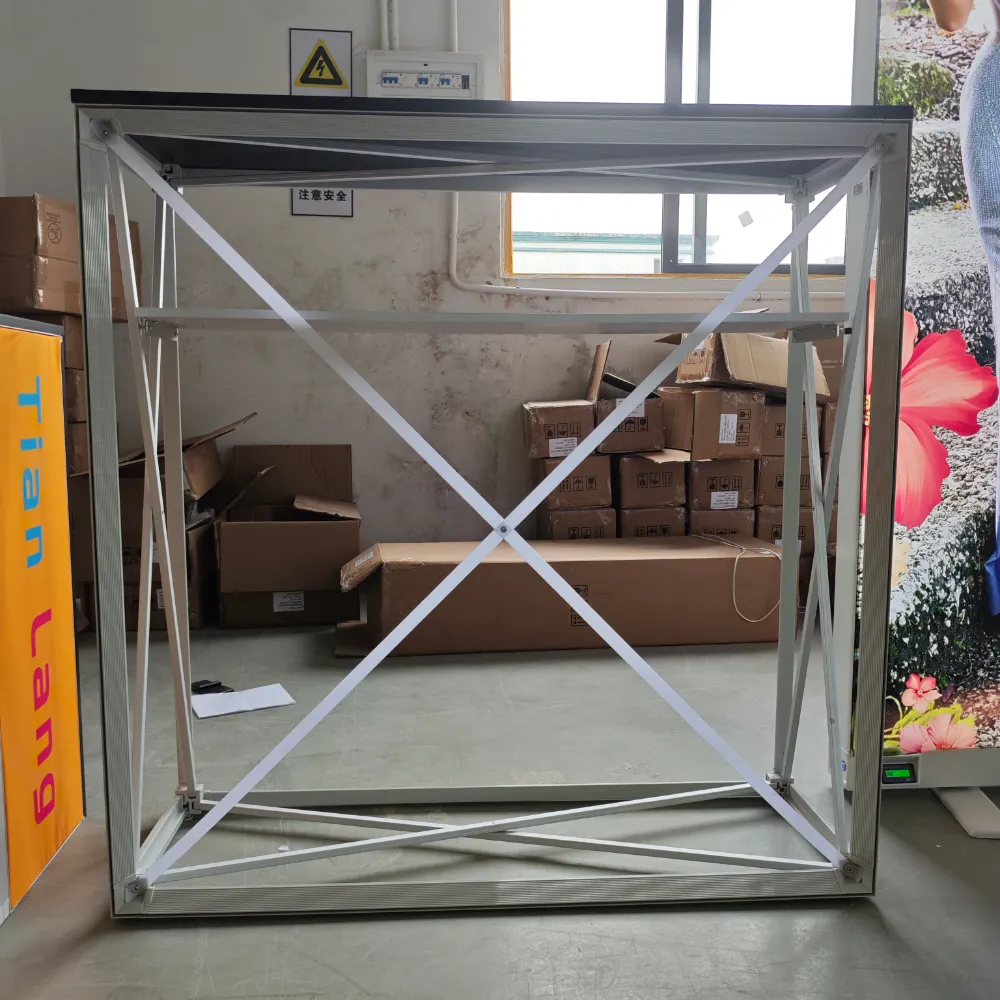
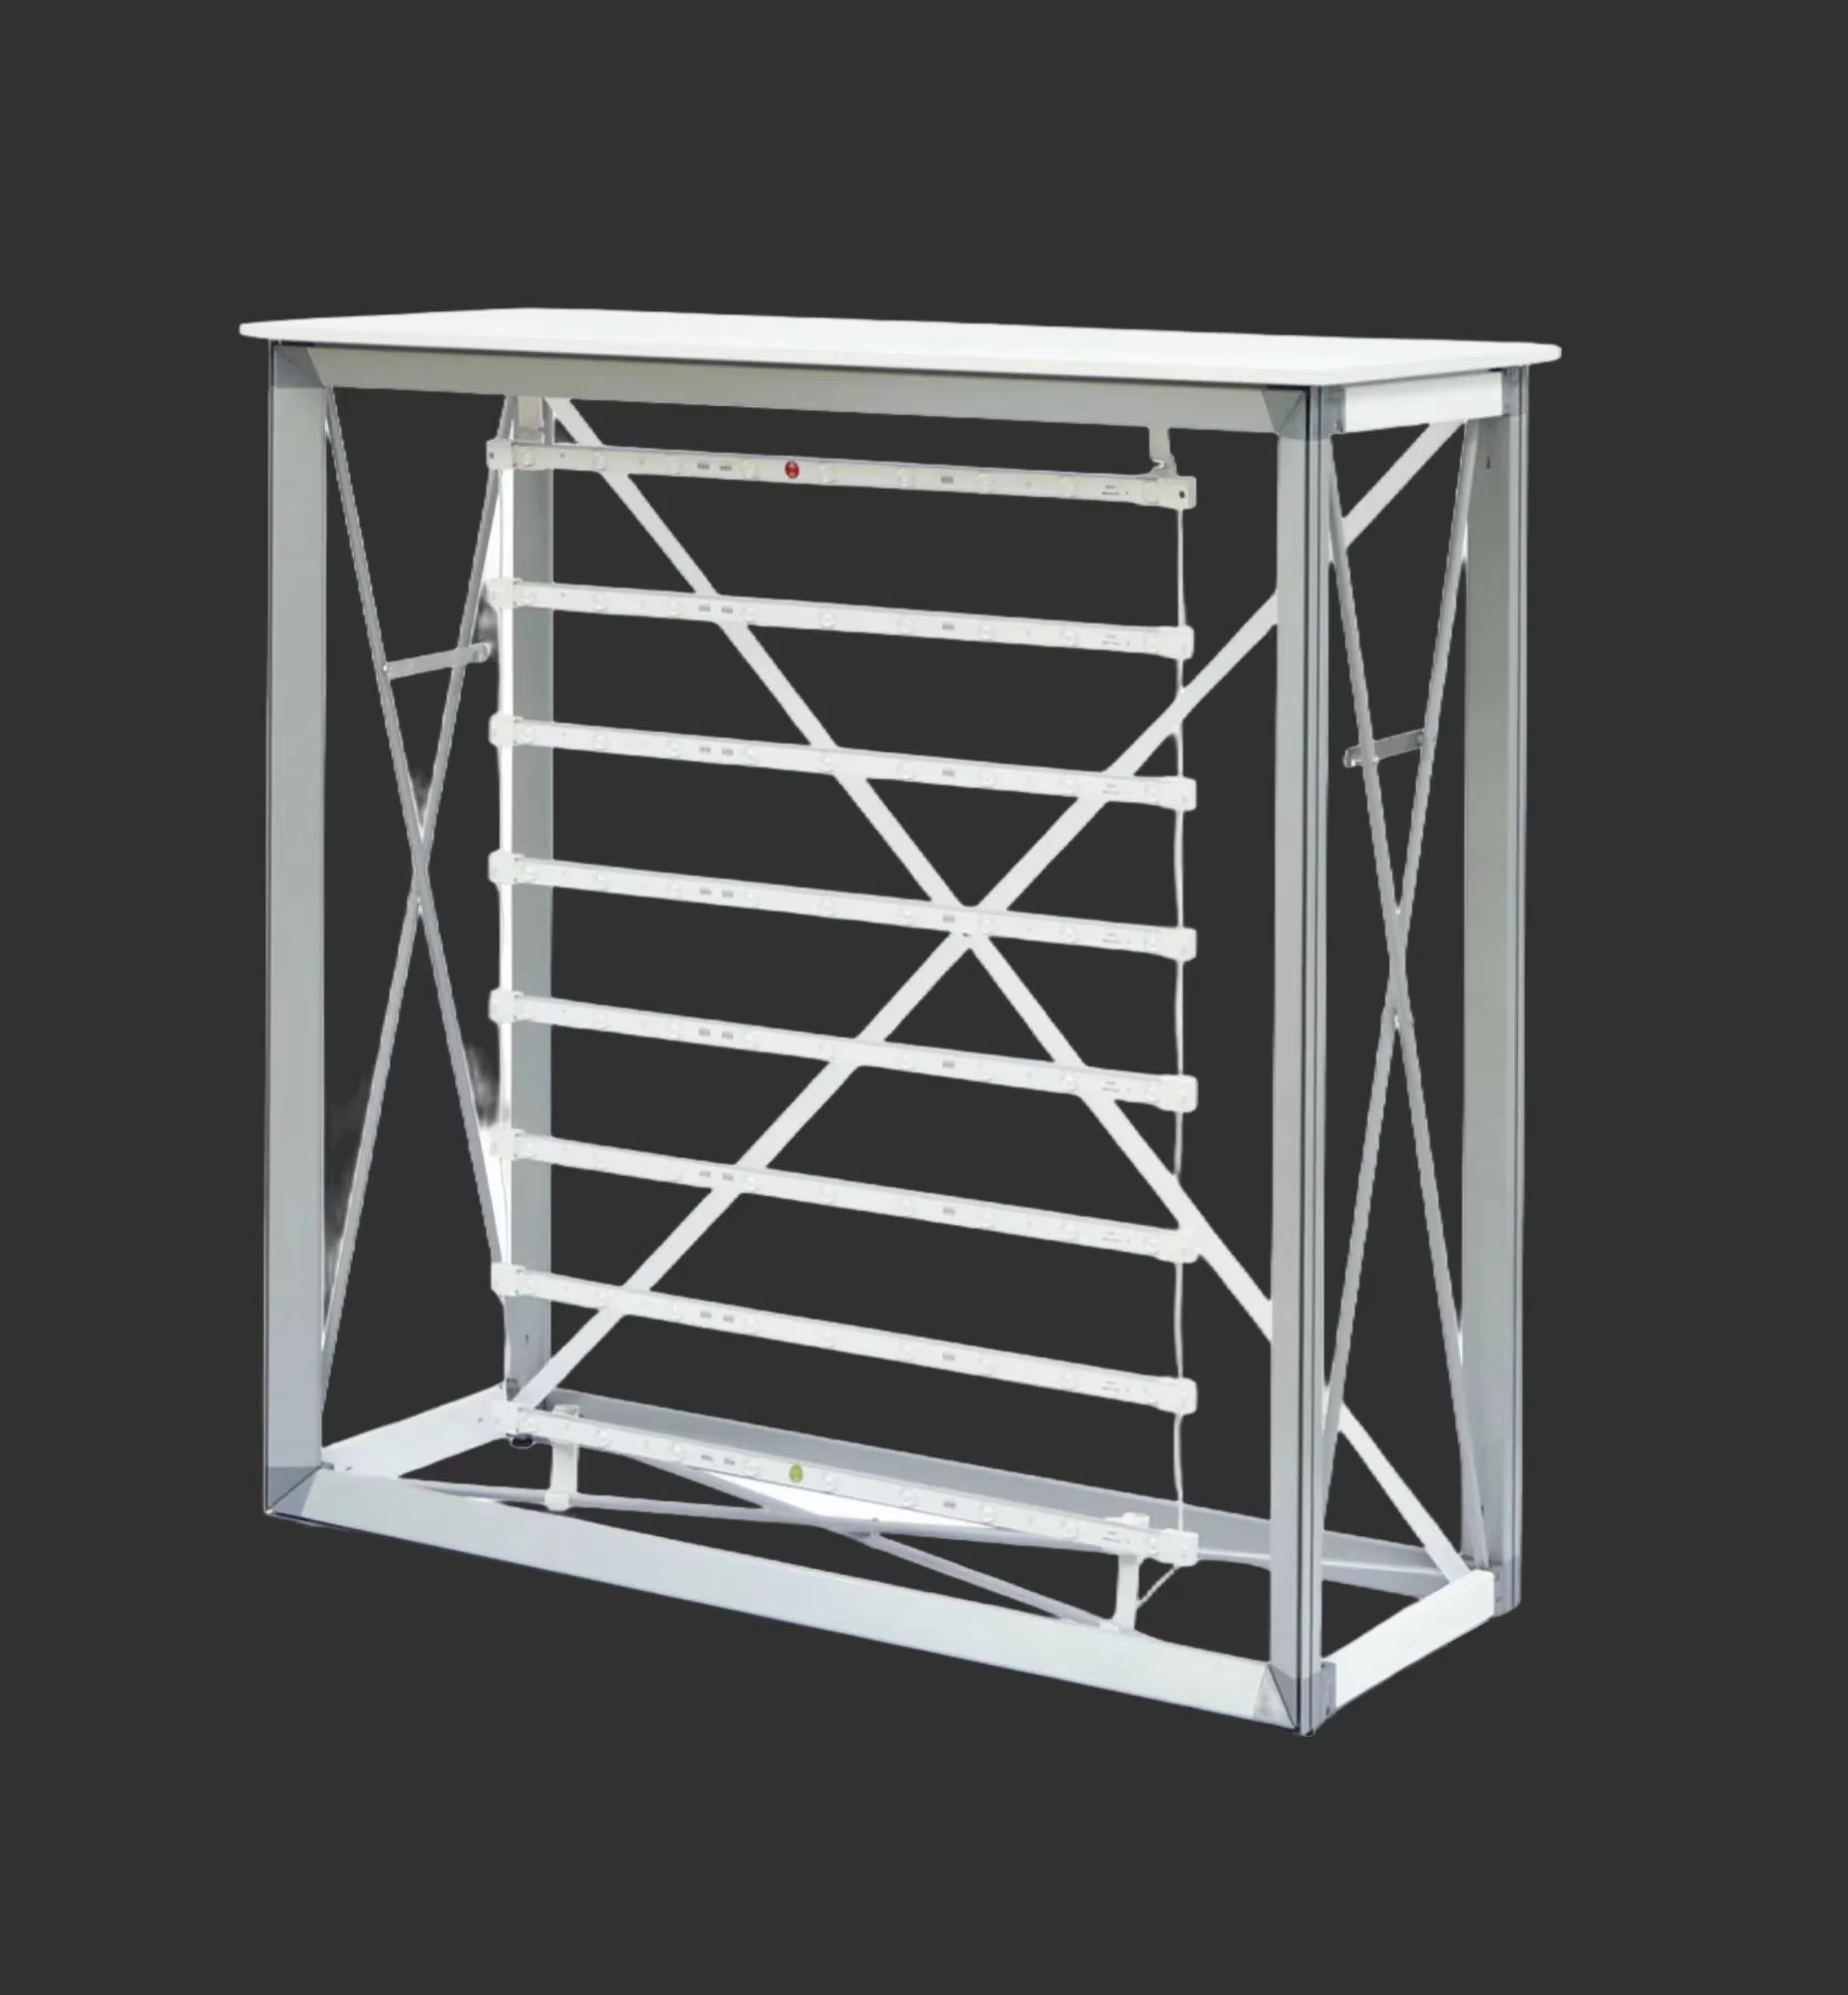
- perimeter frame profiles;
- diagonal cross braces;
- lower base support;
- worktop support points;
- areas where graphic panels or fabric covers are fitted.
- Confirm whether the frame folds as one assembly or separates into transportable sections.
- List the worktop, shelf, graphic panels, connectors and accessories that need protection.
- Request packed dimensions and total shipping weight after the final configuration is approved.
- Decide whether the graphic is a permanent wrap, a removable panel or a replaceable fabric treatment.
- Ask for the opening, closing and graphic-fitting instructions to be supplied with the order.
- the required working height;
- the depth needed for products or paperwork;
- the finish and colour;
- the edge treatment and corner clearance;
- the supported load;
- whether the top is removable, fixed or folded for transport.
Pop-Up Fabric Display Counter for Trade Shows and Events
Build a practical brand station without a full booth structure. This pop-up fabric display counter combines a folding pull-out frame, printed graphic surfaces, a worktop and an optional internal shelf for reception, sampling, product explanation or retail-style promotion.
Answer the practical question first: what does a pop-up counter do?
A pop-up display counter gives an event team one compact place to welcome visitors, present a product, distribute information or collect enquiries. Unlike a fixed cabinet, its pull-out frame is designed around a collapsible display structure that can be opened for an event and packed away afterwards.
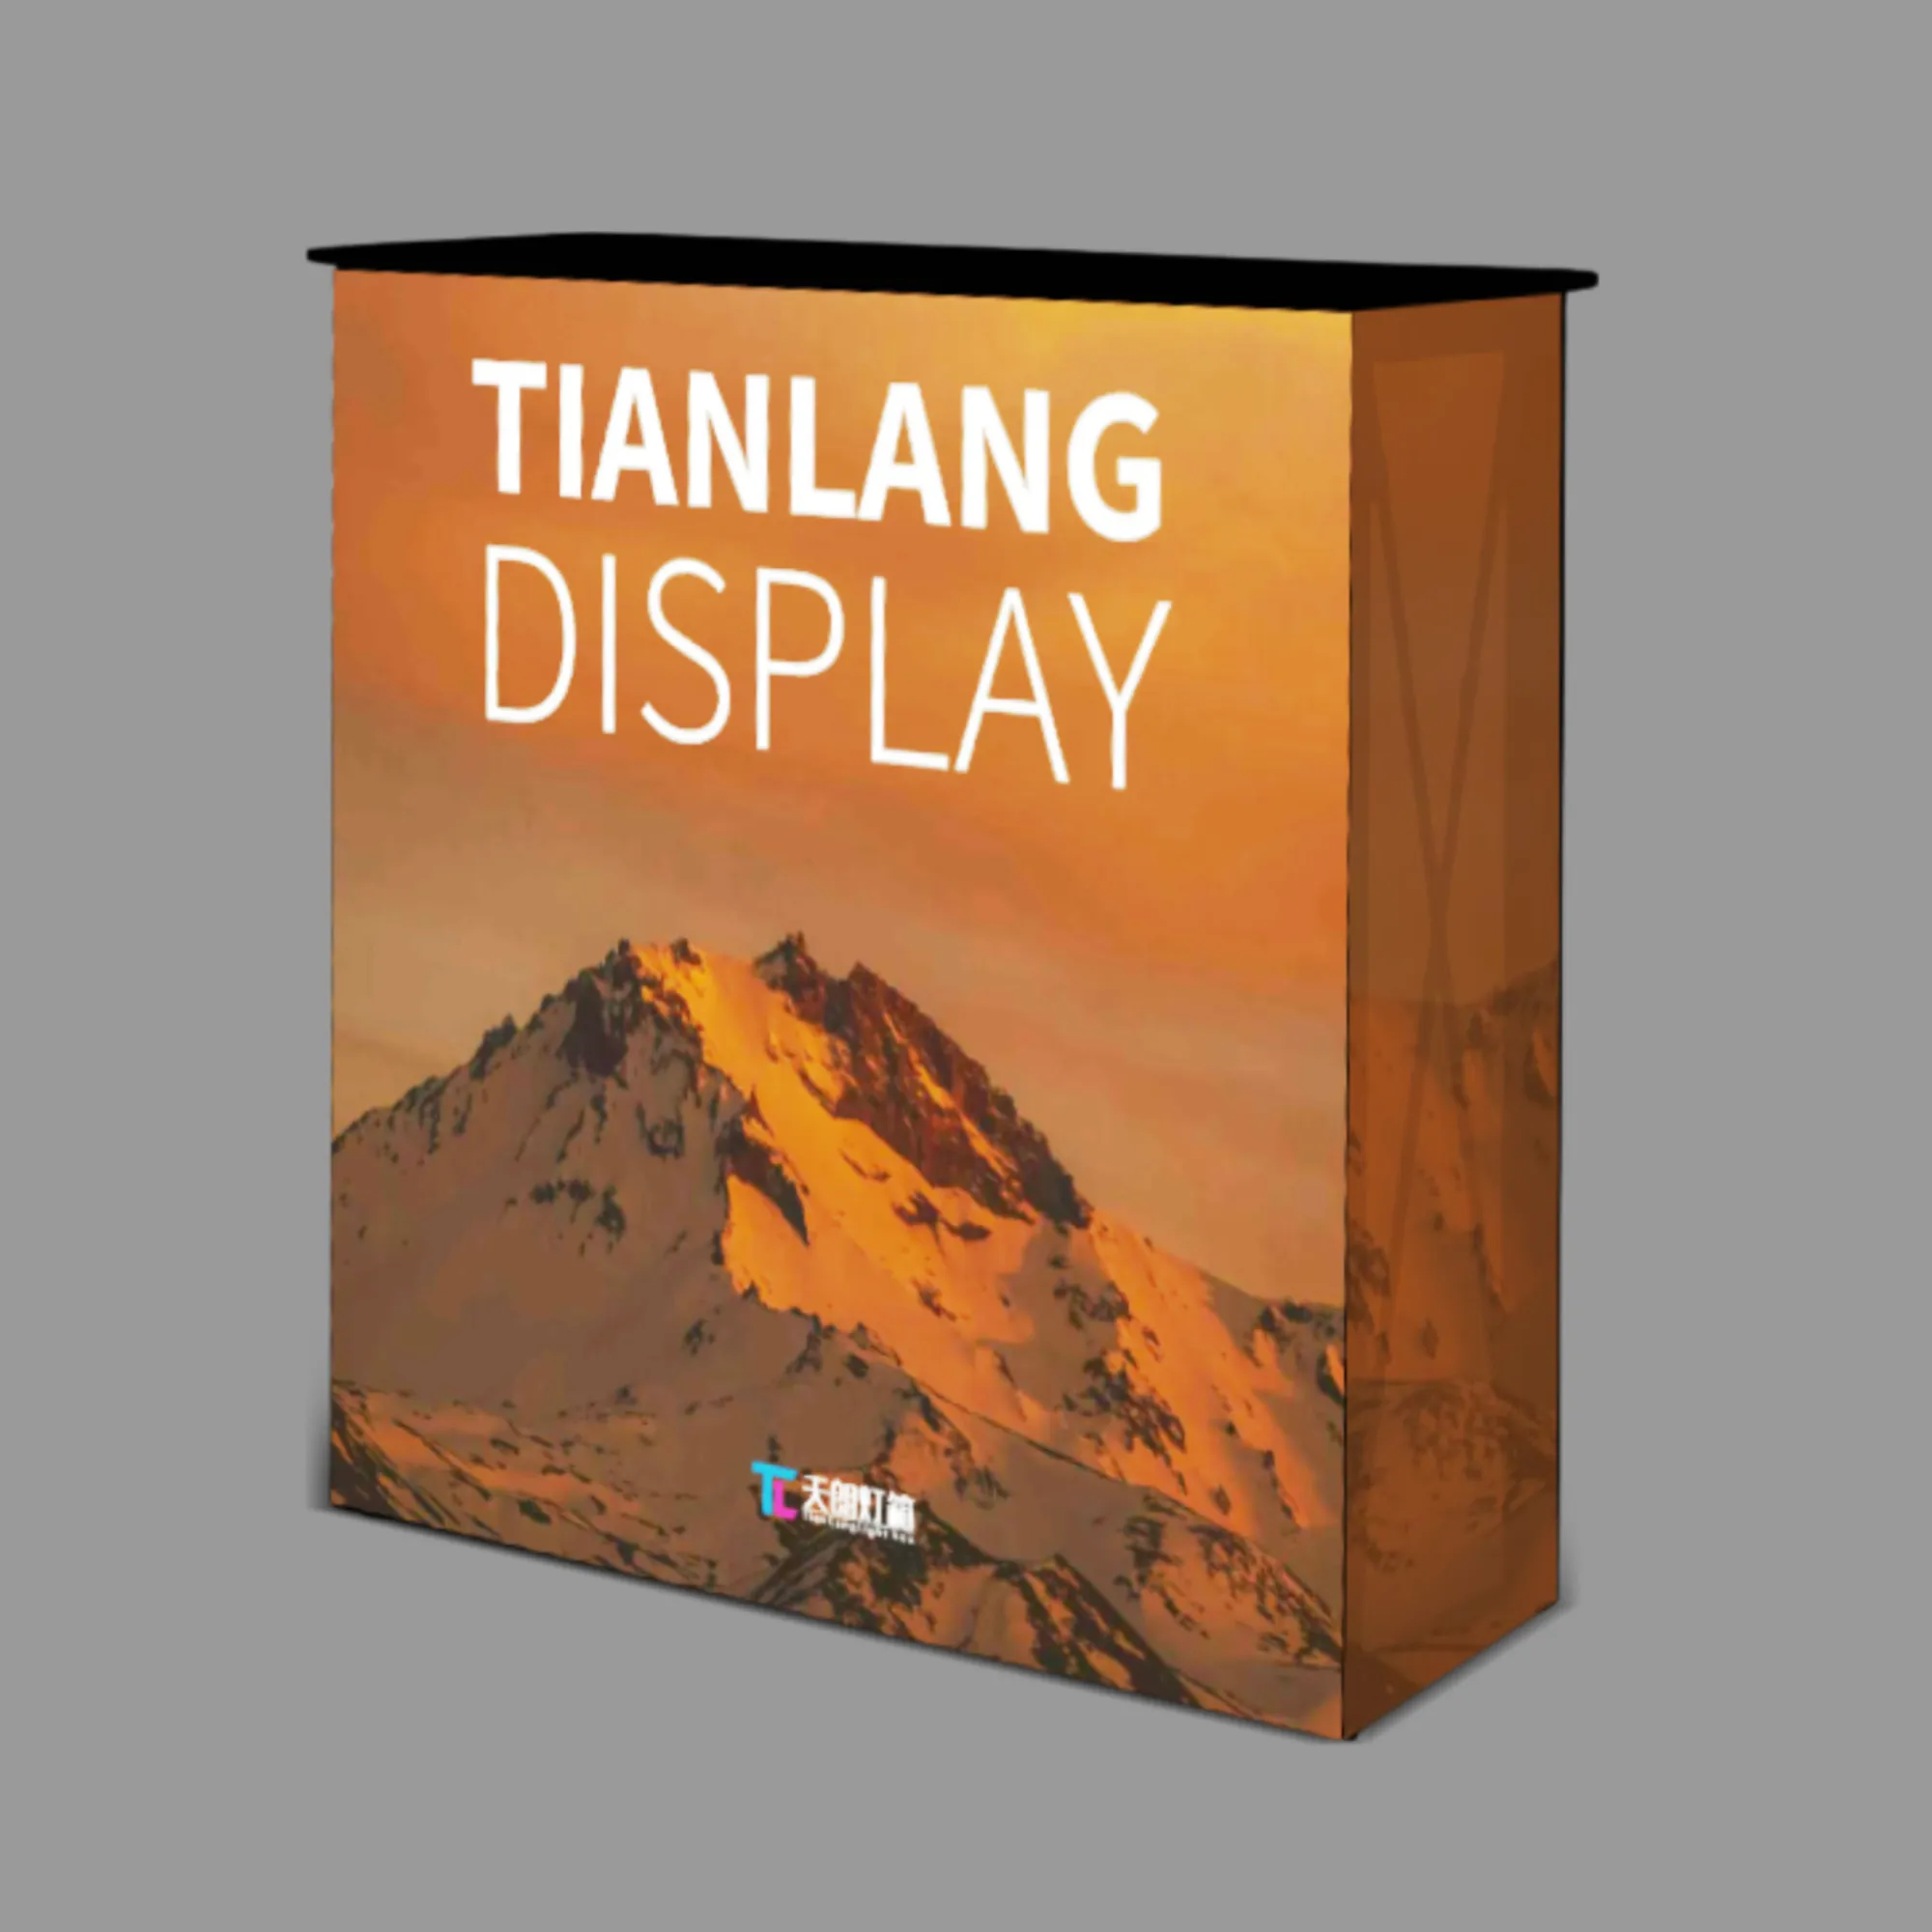
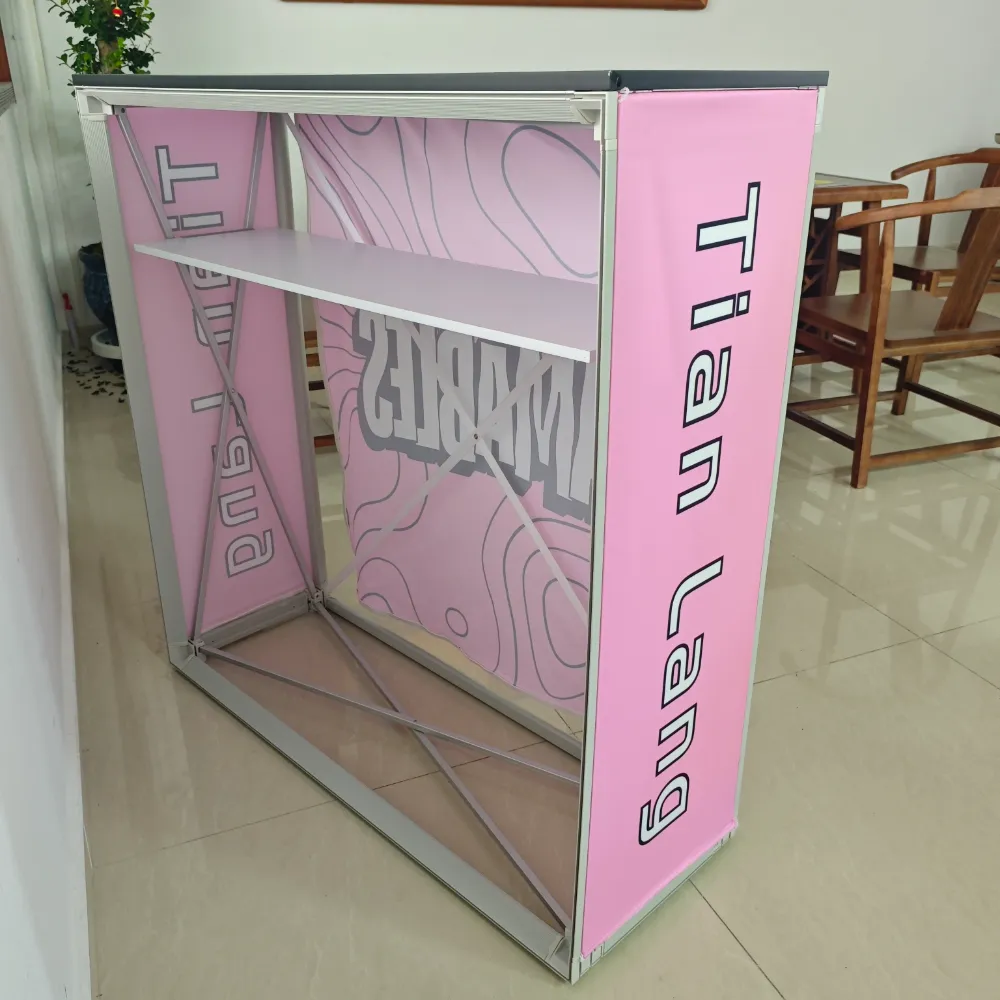
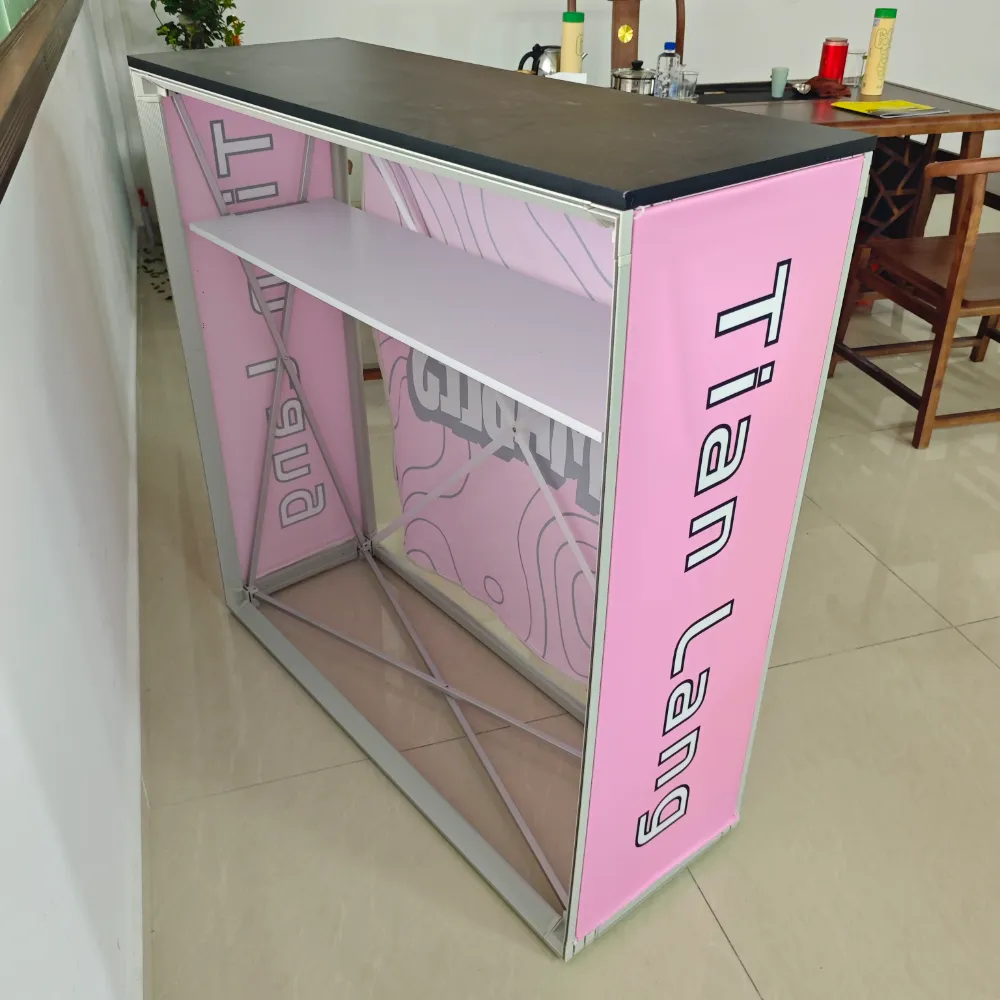
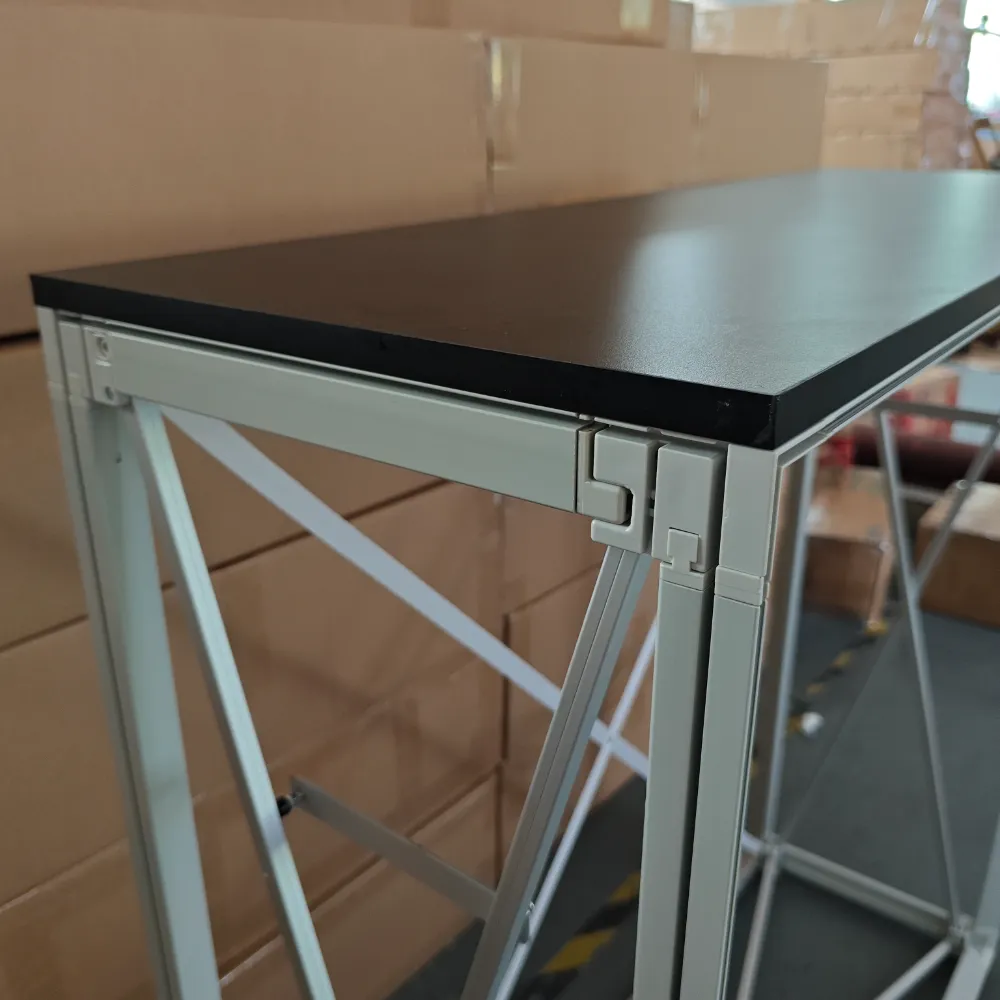
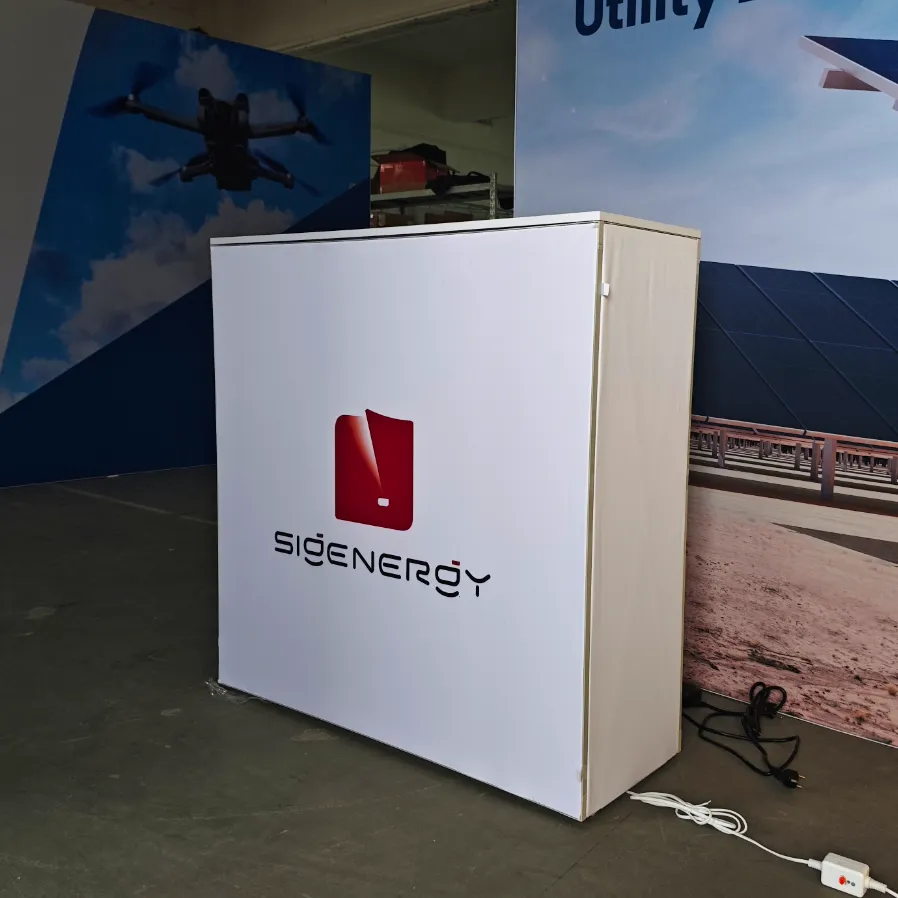
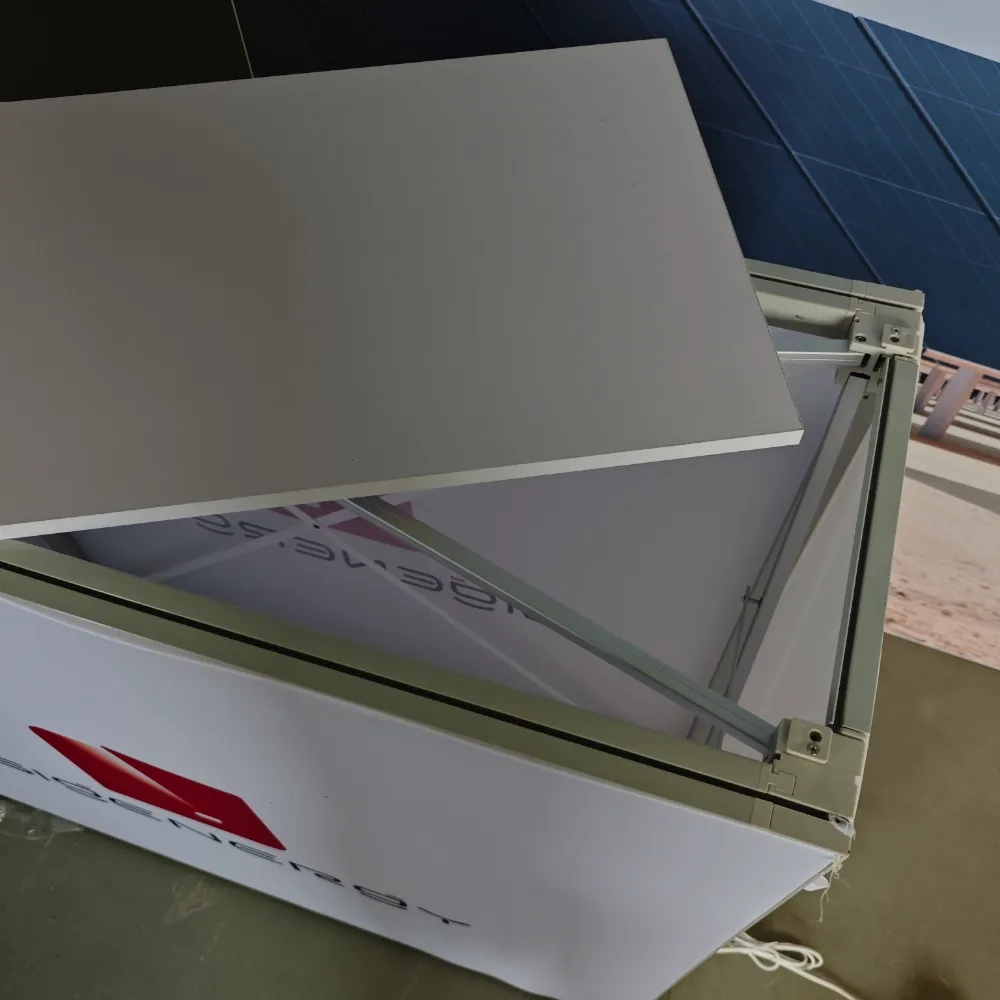
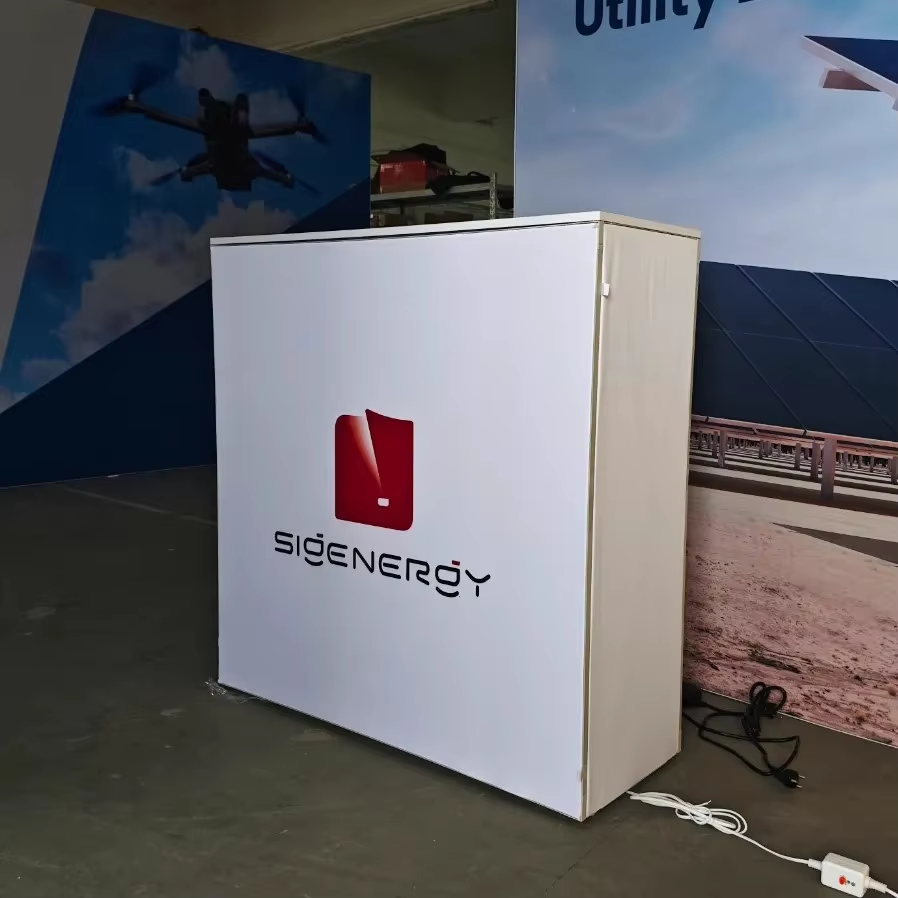
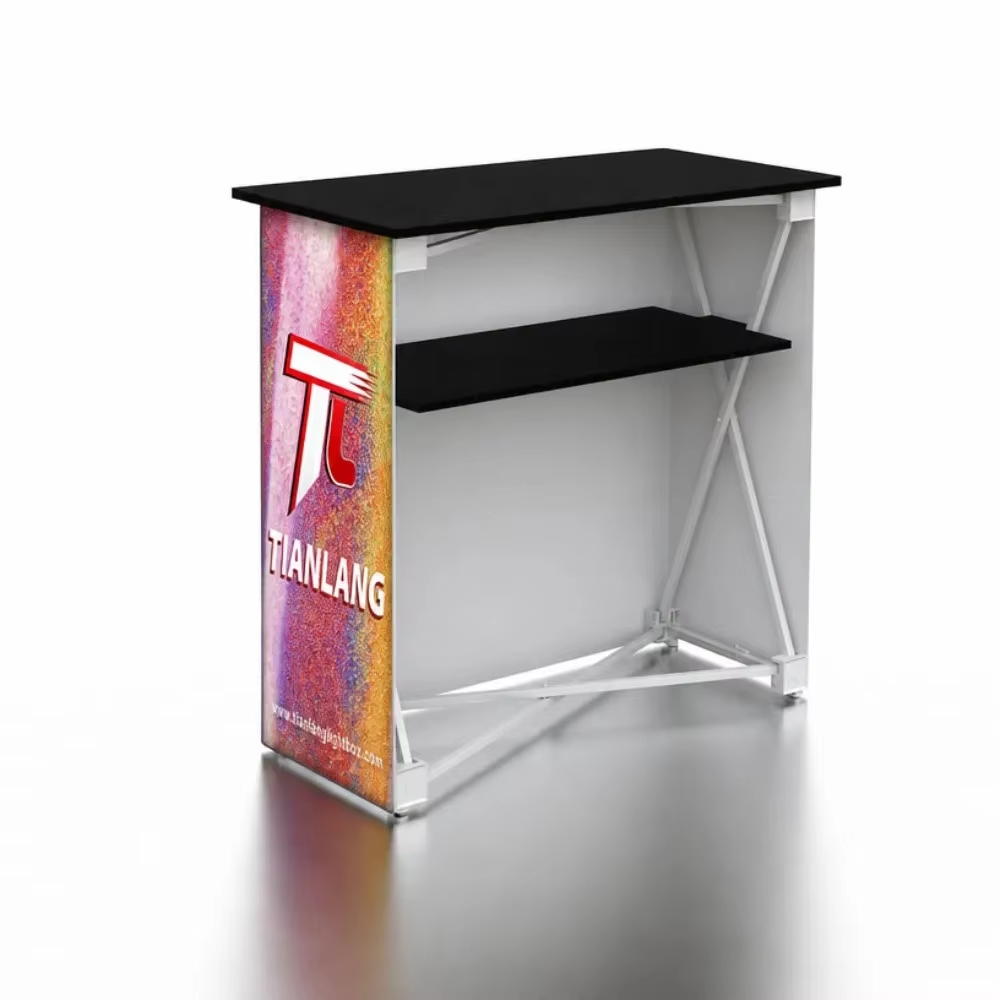
The supplied project images show the counter in several stages: an open frame with cross bracing, a worktop and connector detail, a finished branded unit, and a version with an internal shelf. This makes the product suitable for customers who need both visible branding and a usable working surface.
Follow the product from frame to finished display
1. Start with the pull-out frame
The open reference image shows a rectangular frame with diagonal support members and a lower base structure. The folding mechanism is the starting point of the counter: inspect the frame, feet, connectors and graphic support parts before fitting the exterior surfaces.
2. Add the worktop
The dark top panel creates the working surface for reception, sampling, brochures or a compact product presentation. The close-up image shows the worktop meeting the frame through a corner connection. Confirm the final top material, thickness, dimensions, edge finish and load requirement for the selected version.
3. Organise the inside
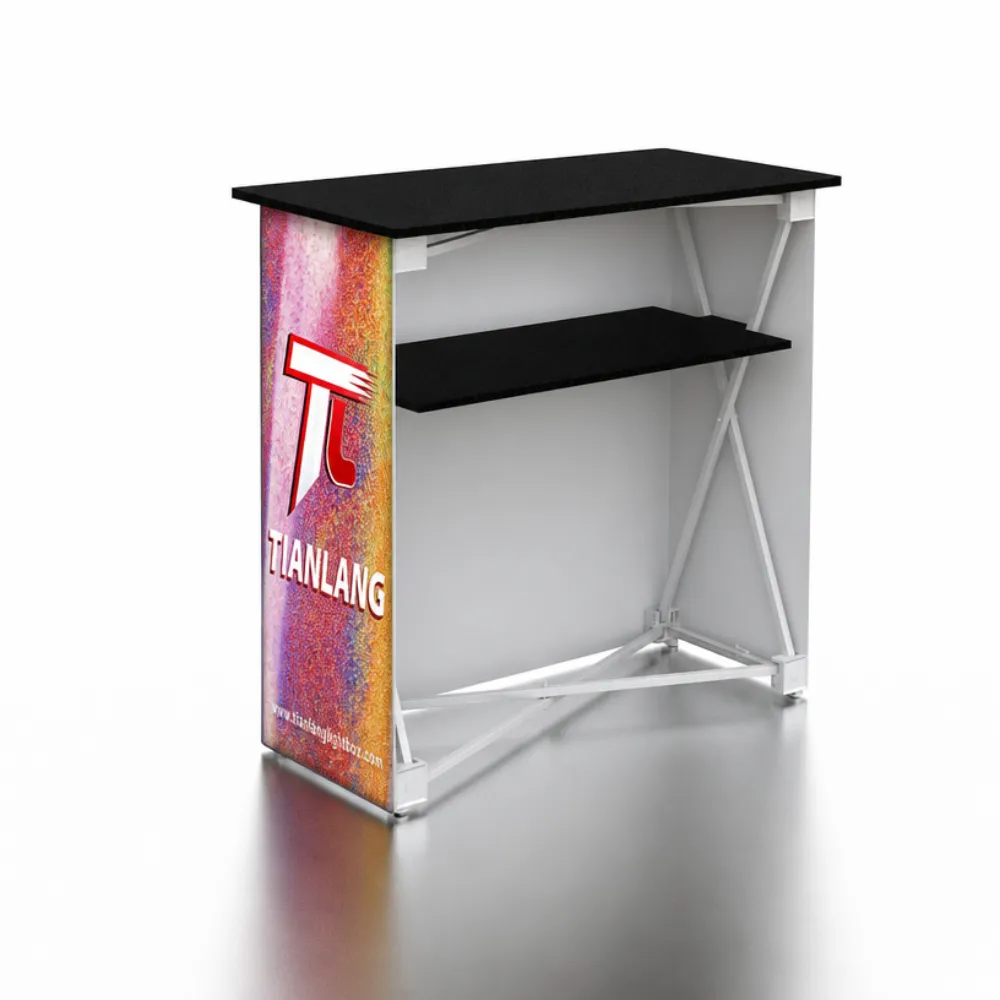
An internal shelf can turn the open frame into a more useful event station. Use it for brochures, samples, packaging or small display items. Shelf quantity, position, internal clearance and load should be defined in the project drawing rather than assumed from the reference images.
4. Finish the outside with graphics
Printed fabric or panel graphics convert the frame into a branded counter. The supplied examples show full front and side visual coverage, including a white company-branded finish and a pink graphic treatment. Final artwork should be prepared around the panel edges, corners and seams.
Choose the counter according to the way visitors interact
| Event objective | Recommended counter planning |
|---|---|
| Reception and greeting | Keep the front message simple and reserve the worktop for enquiry handling or literature. |
| Product sampling | Use the worktop for samples and the internal shelf for refill stock or packaging. |
| Trade show product display | Use the front graphic to identify the product category and keep selected samples on the top surface. |
| Retail or pop-up promotion | Plan graphics around the approach direction and use the counter as a small branded service point. |
| Information or registration | Leave enough working space for forms, tablets, brochures or a QR-code action. |
Use the graphics as a three-sided communication system
A pop-up counter is often viewed from more than one direction. Treat the front, side and top surfaces as separate communication zones instead of duplicating the same paragraph everywhere.
The supplied images include both clean logo-led graphics and a more colourful printed side treatment. Select one visual hierarchy for the campaign and keep important text away from corners, connectors and panel joins.
Inspect the frame before choosing a portable counter
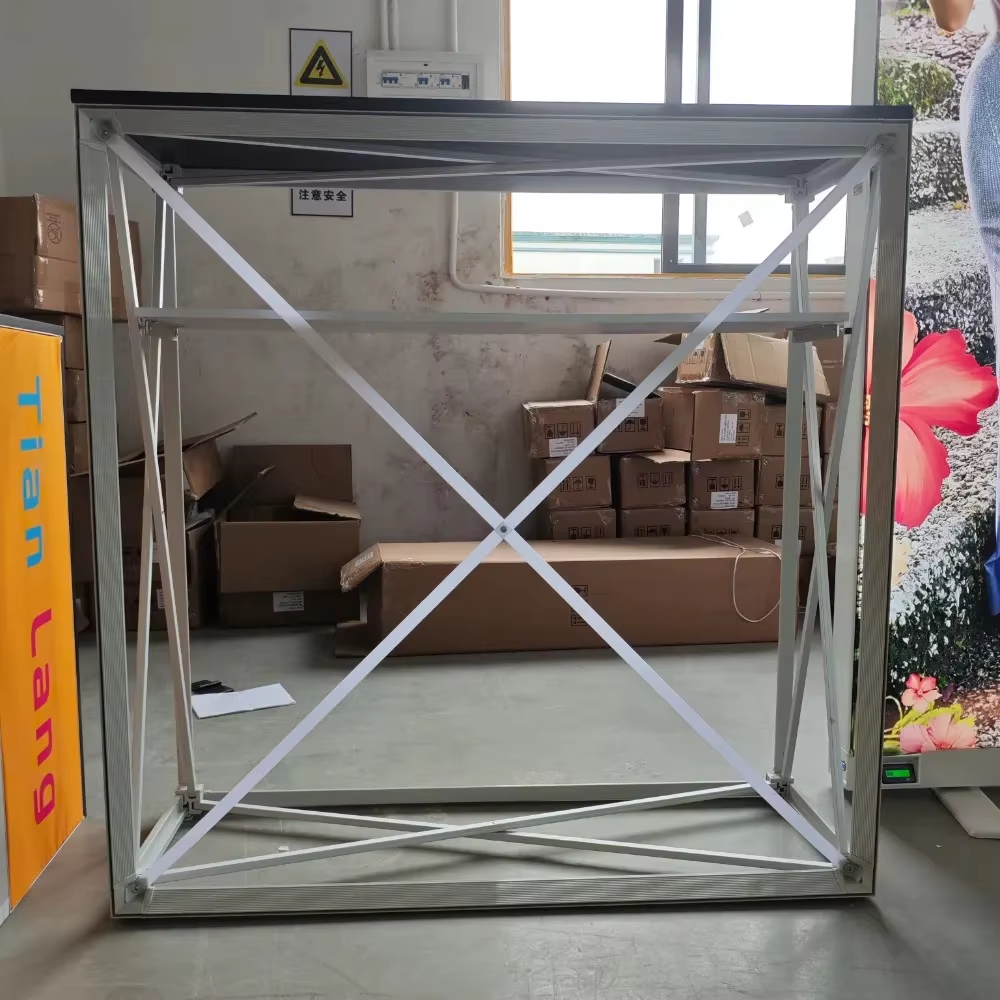
The frame image is useful for a pre-order review because it reveals the parts hidden by the finished graphic:
Confirm the actual profile material, joint type, folding method, levelling details and stability requirements with TIANLANG before describing the unit as lightweight, tool-free, outdoor-ready or suitable for a specific load.
Make packing and repeat use part of the design brief
The value of a pop-up counter is not only how it looks during one event. It also depends on how the frame, worktop, shelf, graphics and accessories are handled between events.
Repeat-event use should be stated as a project requirement. Do not assume that every graphic, top panel or frame component is interchangeable between different sizes.
Review the worktop and shelf as working equipment
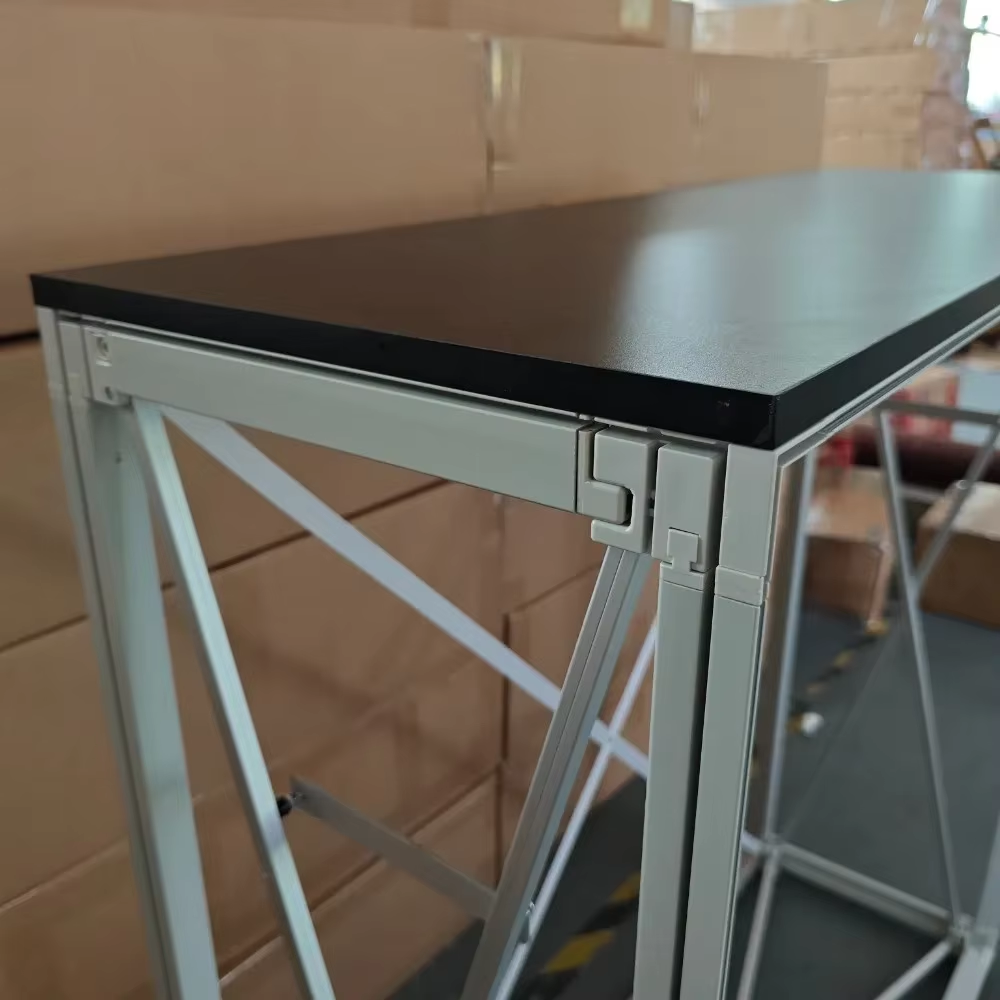
The worktop should be selected according to the task rather than only the visual finish. Before production, confirm:
If an internal shelf is included, specify the items that will be stored and their approximate dimensions. A shelf designed for brochures may not be suitable for heavier samples or packaging.
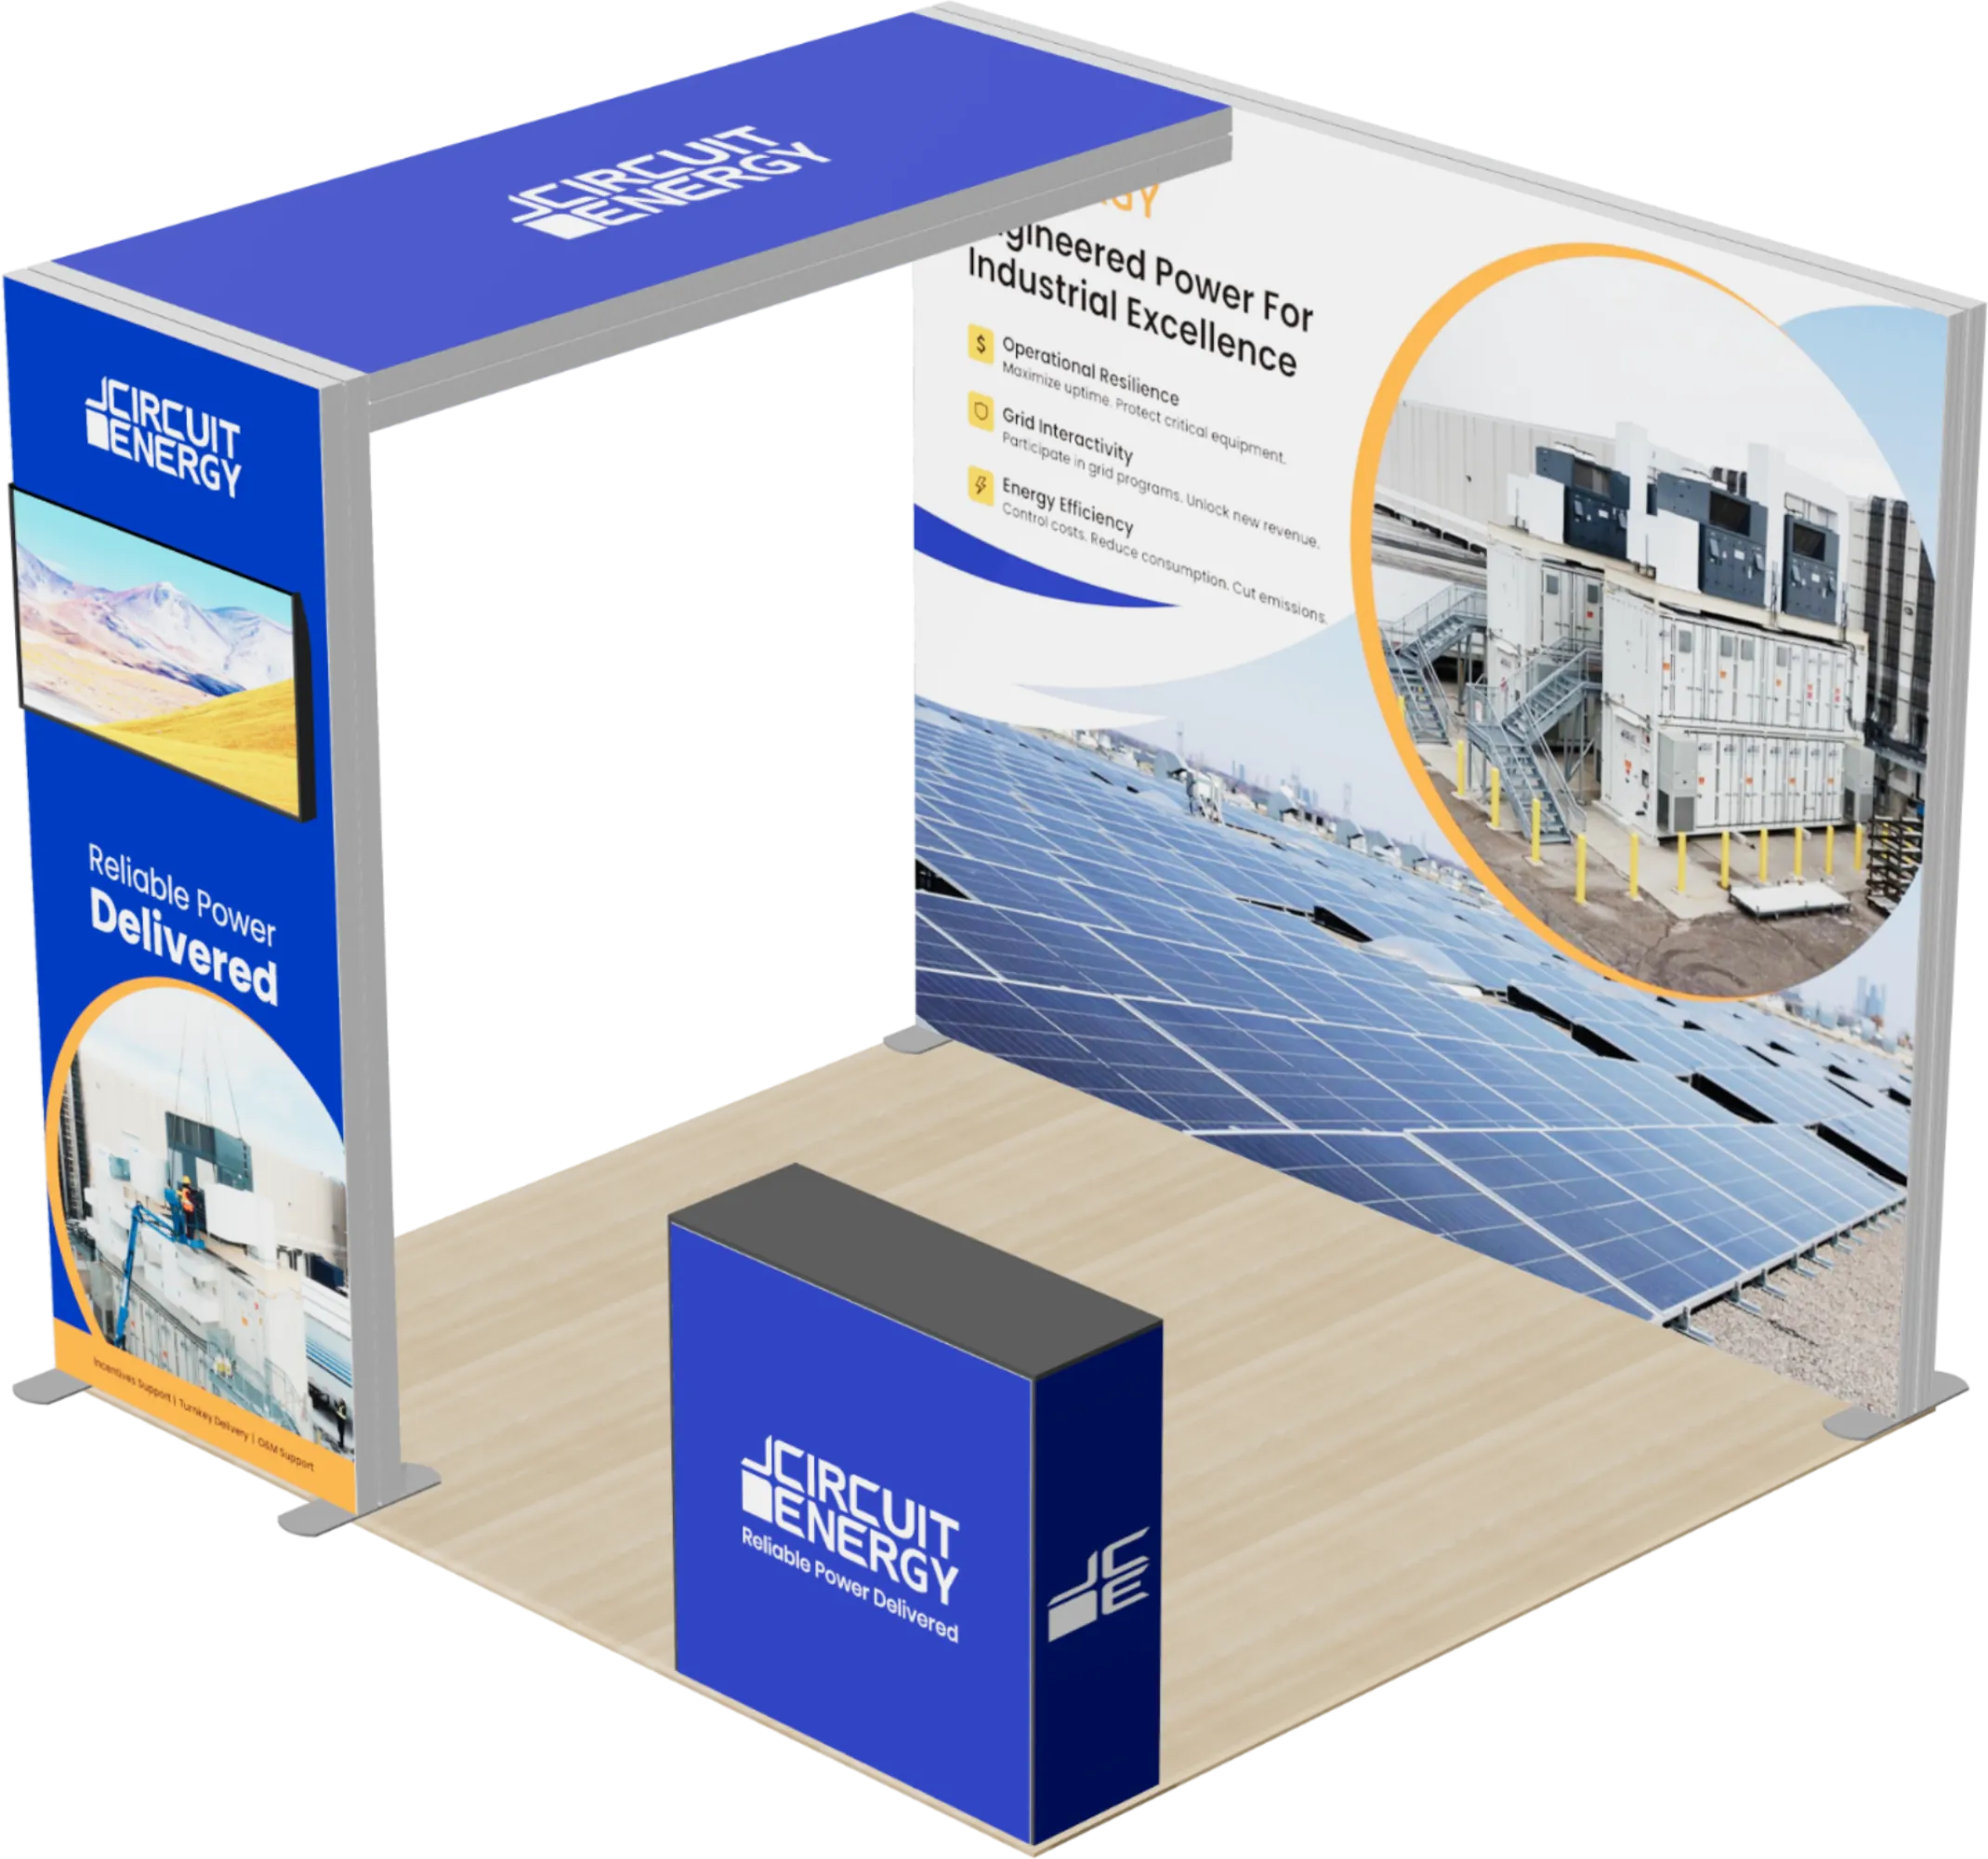
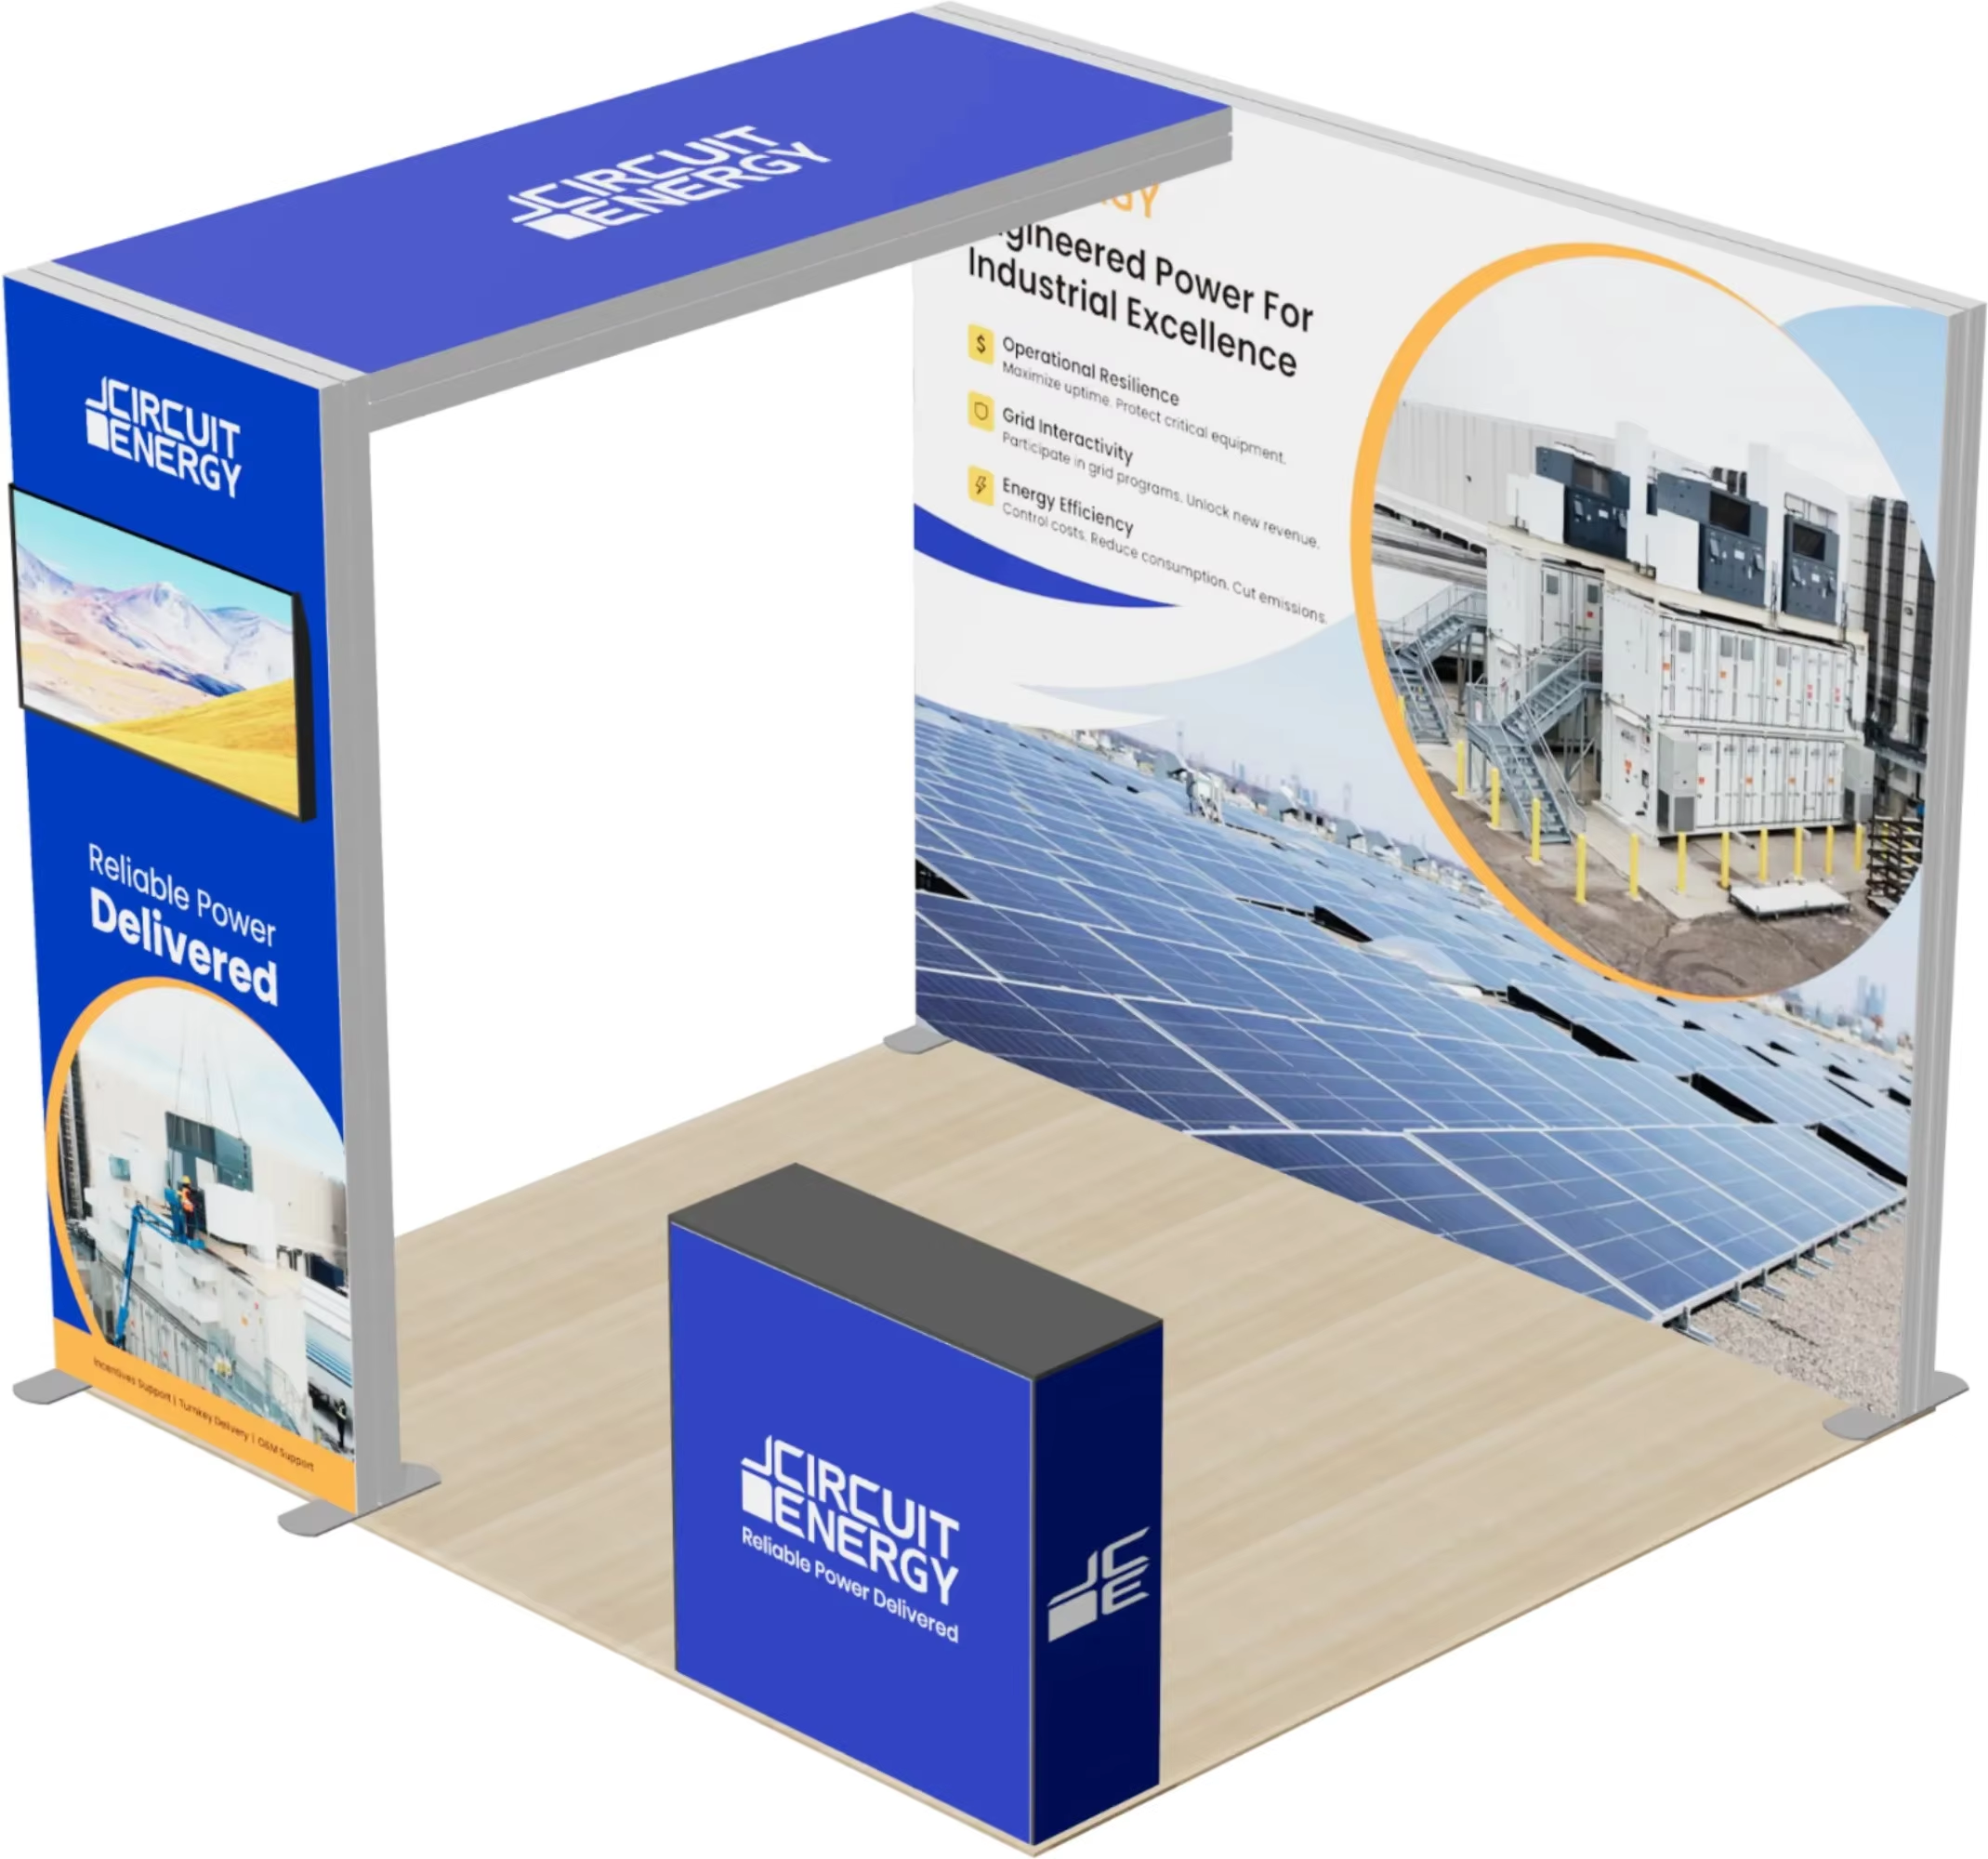
See possible display directions
Configuration information to confirm before quotation
| Project item | Customer information required |
|---|---|
| Overall size | Width, depth, height and venue clearance [TO CONFIRM] |
| Frame | Profile material, finish, folding method, connectors and stability requirements [TO CONFIRM] |
| Worktop | Material, colour, thickness, dimensions, edge finish and load [TO CONFIRM] |
| Internal shelf | Required shelf count, position, clearance and stored items [TO CONFIRM] |
| Graphics | Front and side artwork, fabric or panel treatment, seams and replacement plan |
| Lighting | Whether lighting is required; the supplied reference images do not confirm a standard lighting configuration |
| Quantity | Number of units, spare graphics, spare connectors and replacement parts |
| Logistics | Destination, event date, packing, delivery, installation and dismantling responsibilities |
What makes this different from a fixed exhibition cabinet?
| Fixed exhibition cabinet | Pop-up fabric display counter |
|---|---|
| Usually treated as a permanent or semi-permanent unit | Built around a folding or pull-out display frame |
| May prioritise enclosed storage | Balances visible branding, a worktop and optional open shelf |
| Graphics may be integrated into rigid panels | Can be planned around fabric or removable graphic treatments |
| Often harder to move between venues | Designed with packing and repeat-event handling in mind |
| Usually selected for one fixed environment | Can be specified around events, retail activations and temporary promotions |
Prepare the order around the real event
Send TIANLANG the official floor plan, required counter footprint, event date, venue access instructions, artwork files, product or sample list, shelf requirements and delivery destination. If the counter will be used repeatedly, include the next expected venue size and the preferred graphic replacement plan.
TIANLANG can then review the frame configuration, worktop and shelf arrangement, graphic treatment, packing method and quotation scope.
Frequently asked questions
What is a pop-up fabric display counter?
It is a portable event counter built around a folding or pull-out frame with a worktop and branded graphic surfaces. An internal shelf may be included for brochures, samples or event supplies.
Can the front and side graphics be customised?
The supplied references show several branded front and side treatments. Final graphics should be prepared from the approved panel template, with seams, corners, connectors and viewing direction taken into account.
Can the counter include a shelf?
An internal shelf can be reviewed as part of the configuration. Confirm the number of shelves, position, clearance and the approximate weight of items to be stored.
Is the frame easy to assemble?
The images show a pull-out frame and connected support structure. The exact assembly time, required tools and installation steps depend on the final configuration and should be confirmed in the supplied instruction.
Can the counter be reused at different events?
Reuse depends on the final frame size, graphic method, packing plan and the next venue. Ask TIANLANG to identify which components and graphics are designed for repeat use.
Can lighting be added?
Lighting is not confirmed as a standard feature by the supplied images. If illumination is needed, specify the light source, power, cable route, transformer and venue supply as part of the quotation.
What information is needed for a quotation?
Provide the footprint, event purpose, artwork, worktop use, shelf requirements, quantity, venue, event date, destination, packing and installation expectations.