EN
 FR
 DE
 PT
 ES
 AR
 RU

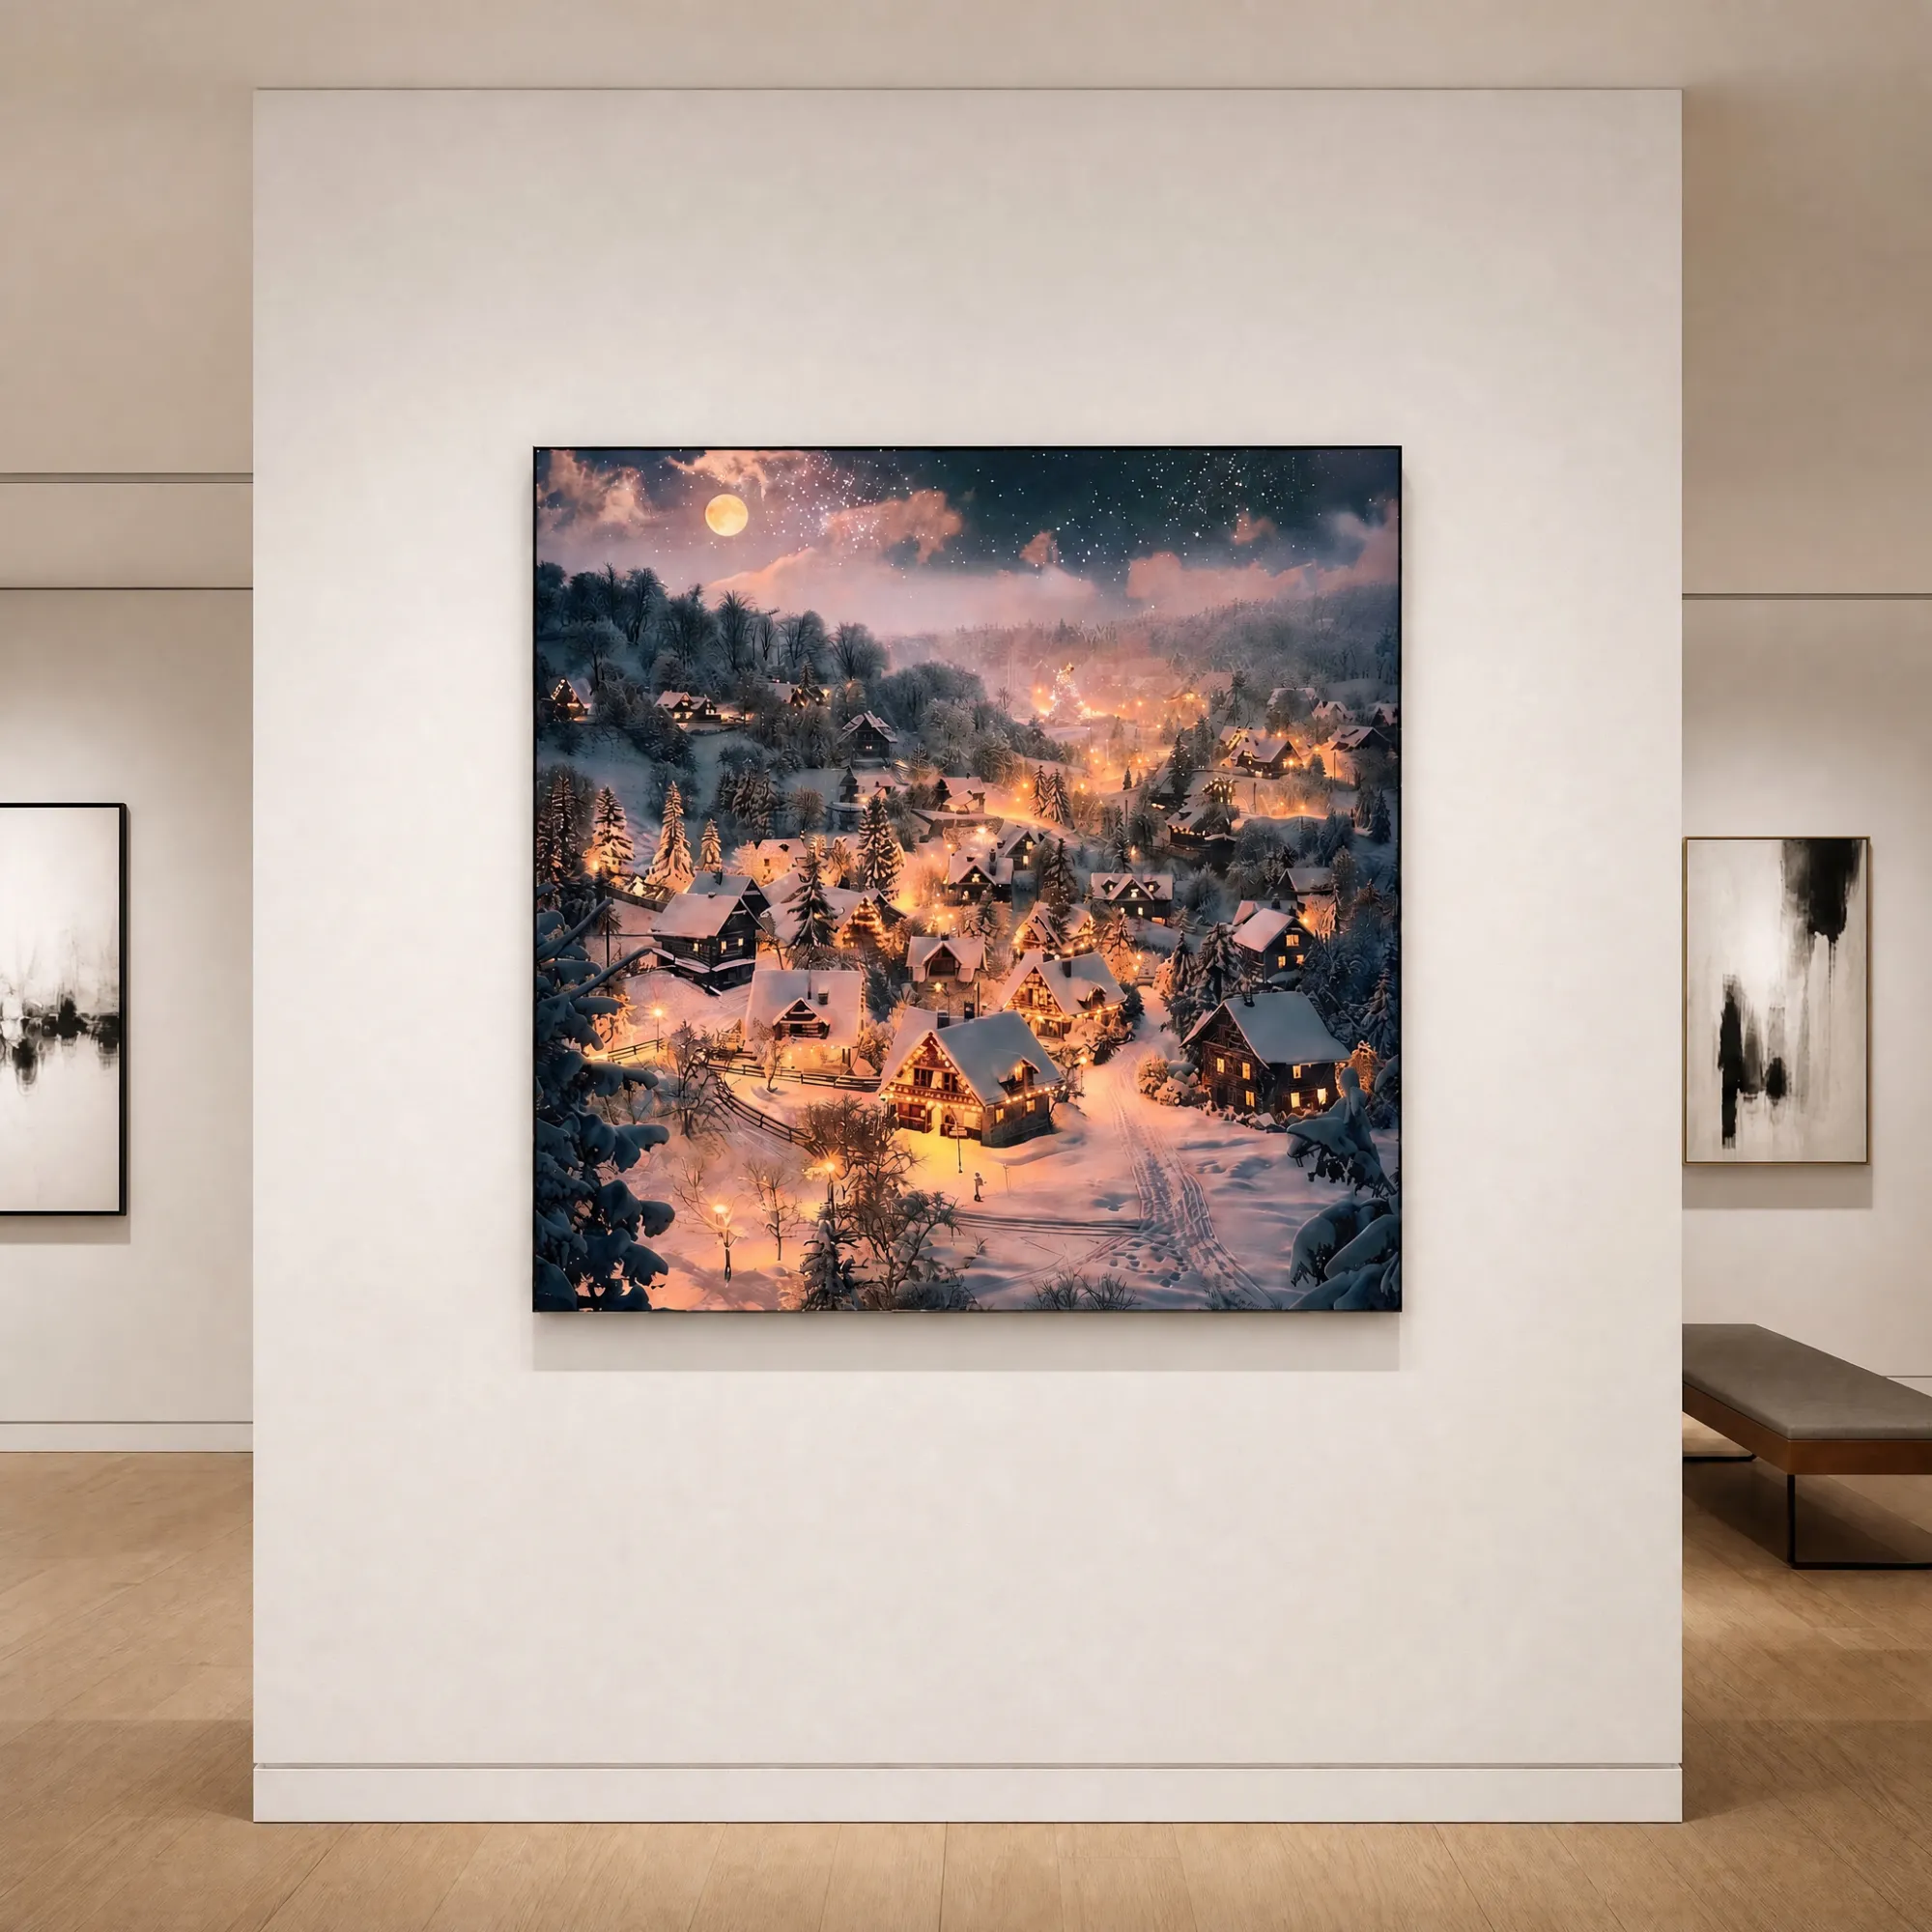

A scene with depth
The snowy township image gives the wall a sense of place. Its layered rooftops, winter light and village atmosphere can help soften a large blank wall.

A snowy town scene with soft, even ambient backlighting.
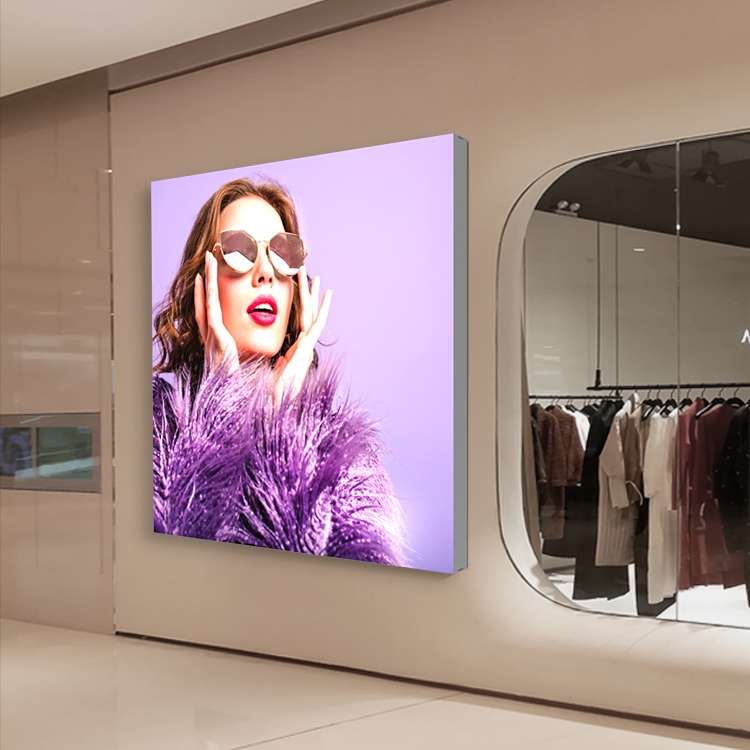
A considered option for hotel rooms, residential interiors, lounges and décor retailers sourcing illuminated artwork. A well-specified lightbox should look right in the room, be straightforward to install and arrive with the electrical and artwork details agreed in advance.
The snowy township image gives the wall a sense of place. Its layered rooftops, winter light and village atmosphere can help soften a large blank wall.
Backlighting gives the printed scene a luminous presentation. Brightness adjustment is listed on the source product page, allowing the light level to be adapted to the room.
A wood-look frame helps connect the illuminated artwork with furniture, flooring and other natural-look finishes.
Printed fabric creates an alternative to a conventional rigid picture face. Confirm graphic replacement and customization options for your specific order.
Create a Welcoming Scene With Light and Artwork
The TIANLANG Snowy Township ambient wall lightbox pairs a winter-town image with integrated LED illumination and a wood-grain frame. It is designed for interior projects where artwork should contribute both visual character and a layer of ambient light.
| Size | 40x40 in / 100x100 cm |
| Frame | Wood grain finish |
| Light Source | Integrated LED backlit |
| Dimming | 1–100% adjustable |
| Smart Control | App / smart home compatible |
| Installation | Wall-mounted |
| Artwork | Custom printed fabric |
Custom printed snowy town artwork
1–100% adjustable LED brightness
Smart home integration
Slim wood-grain frame
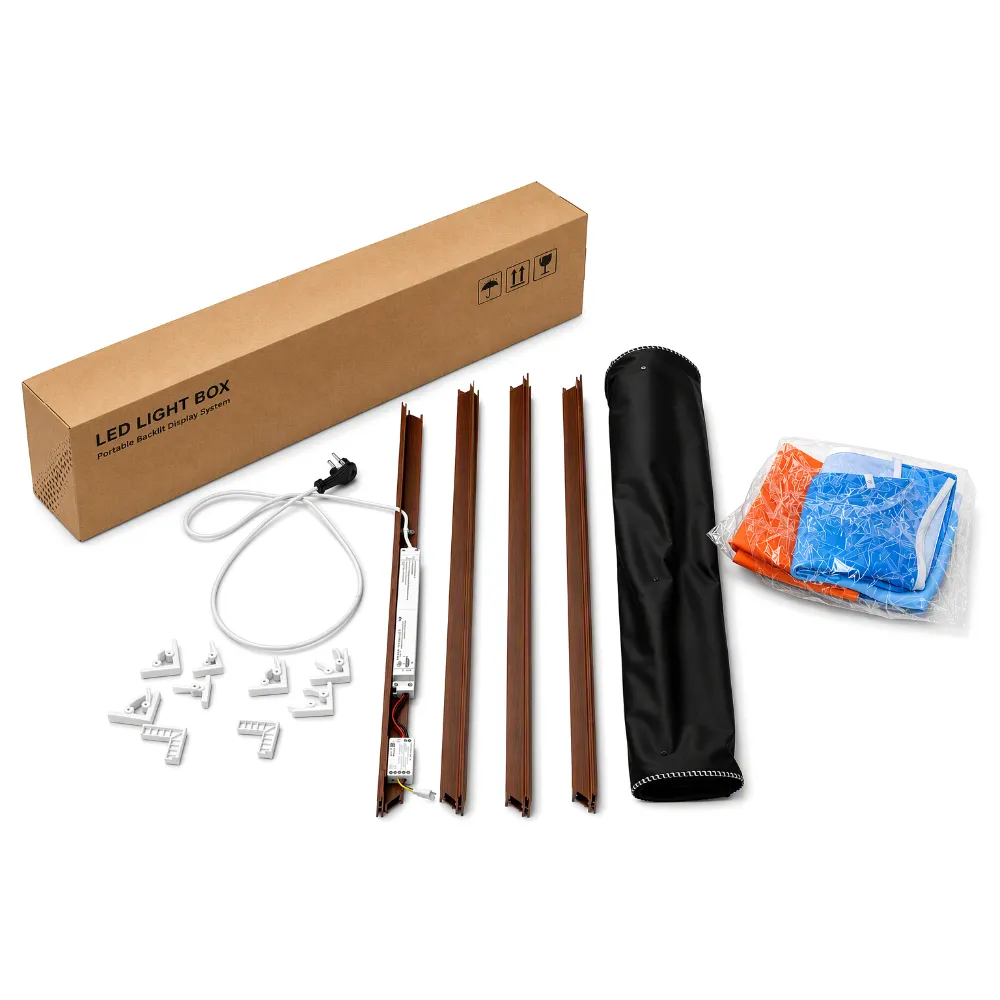
Before starting, unbox the flat-pack export carton and ensure you have all components:
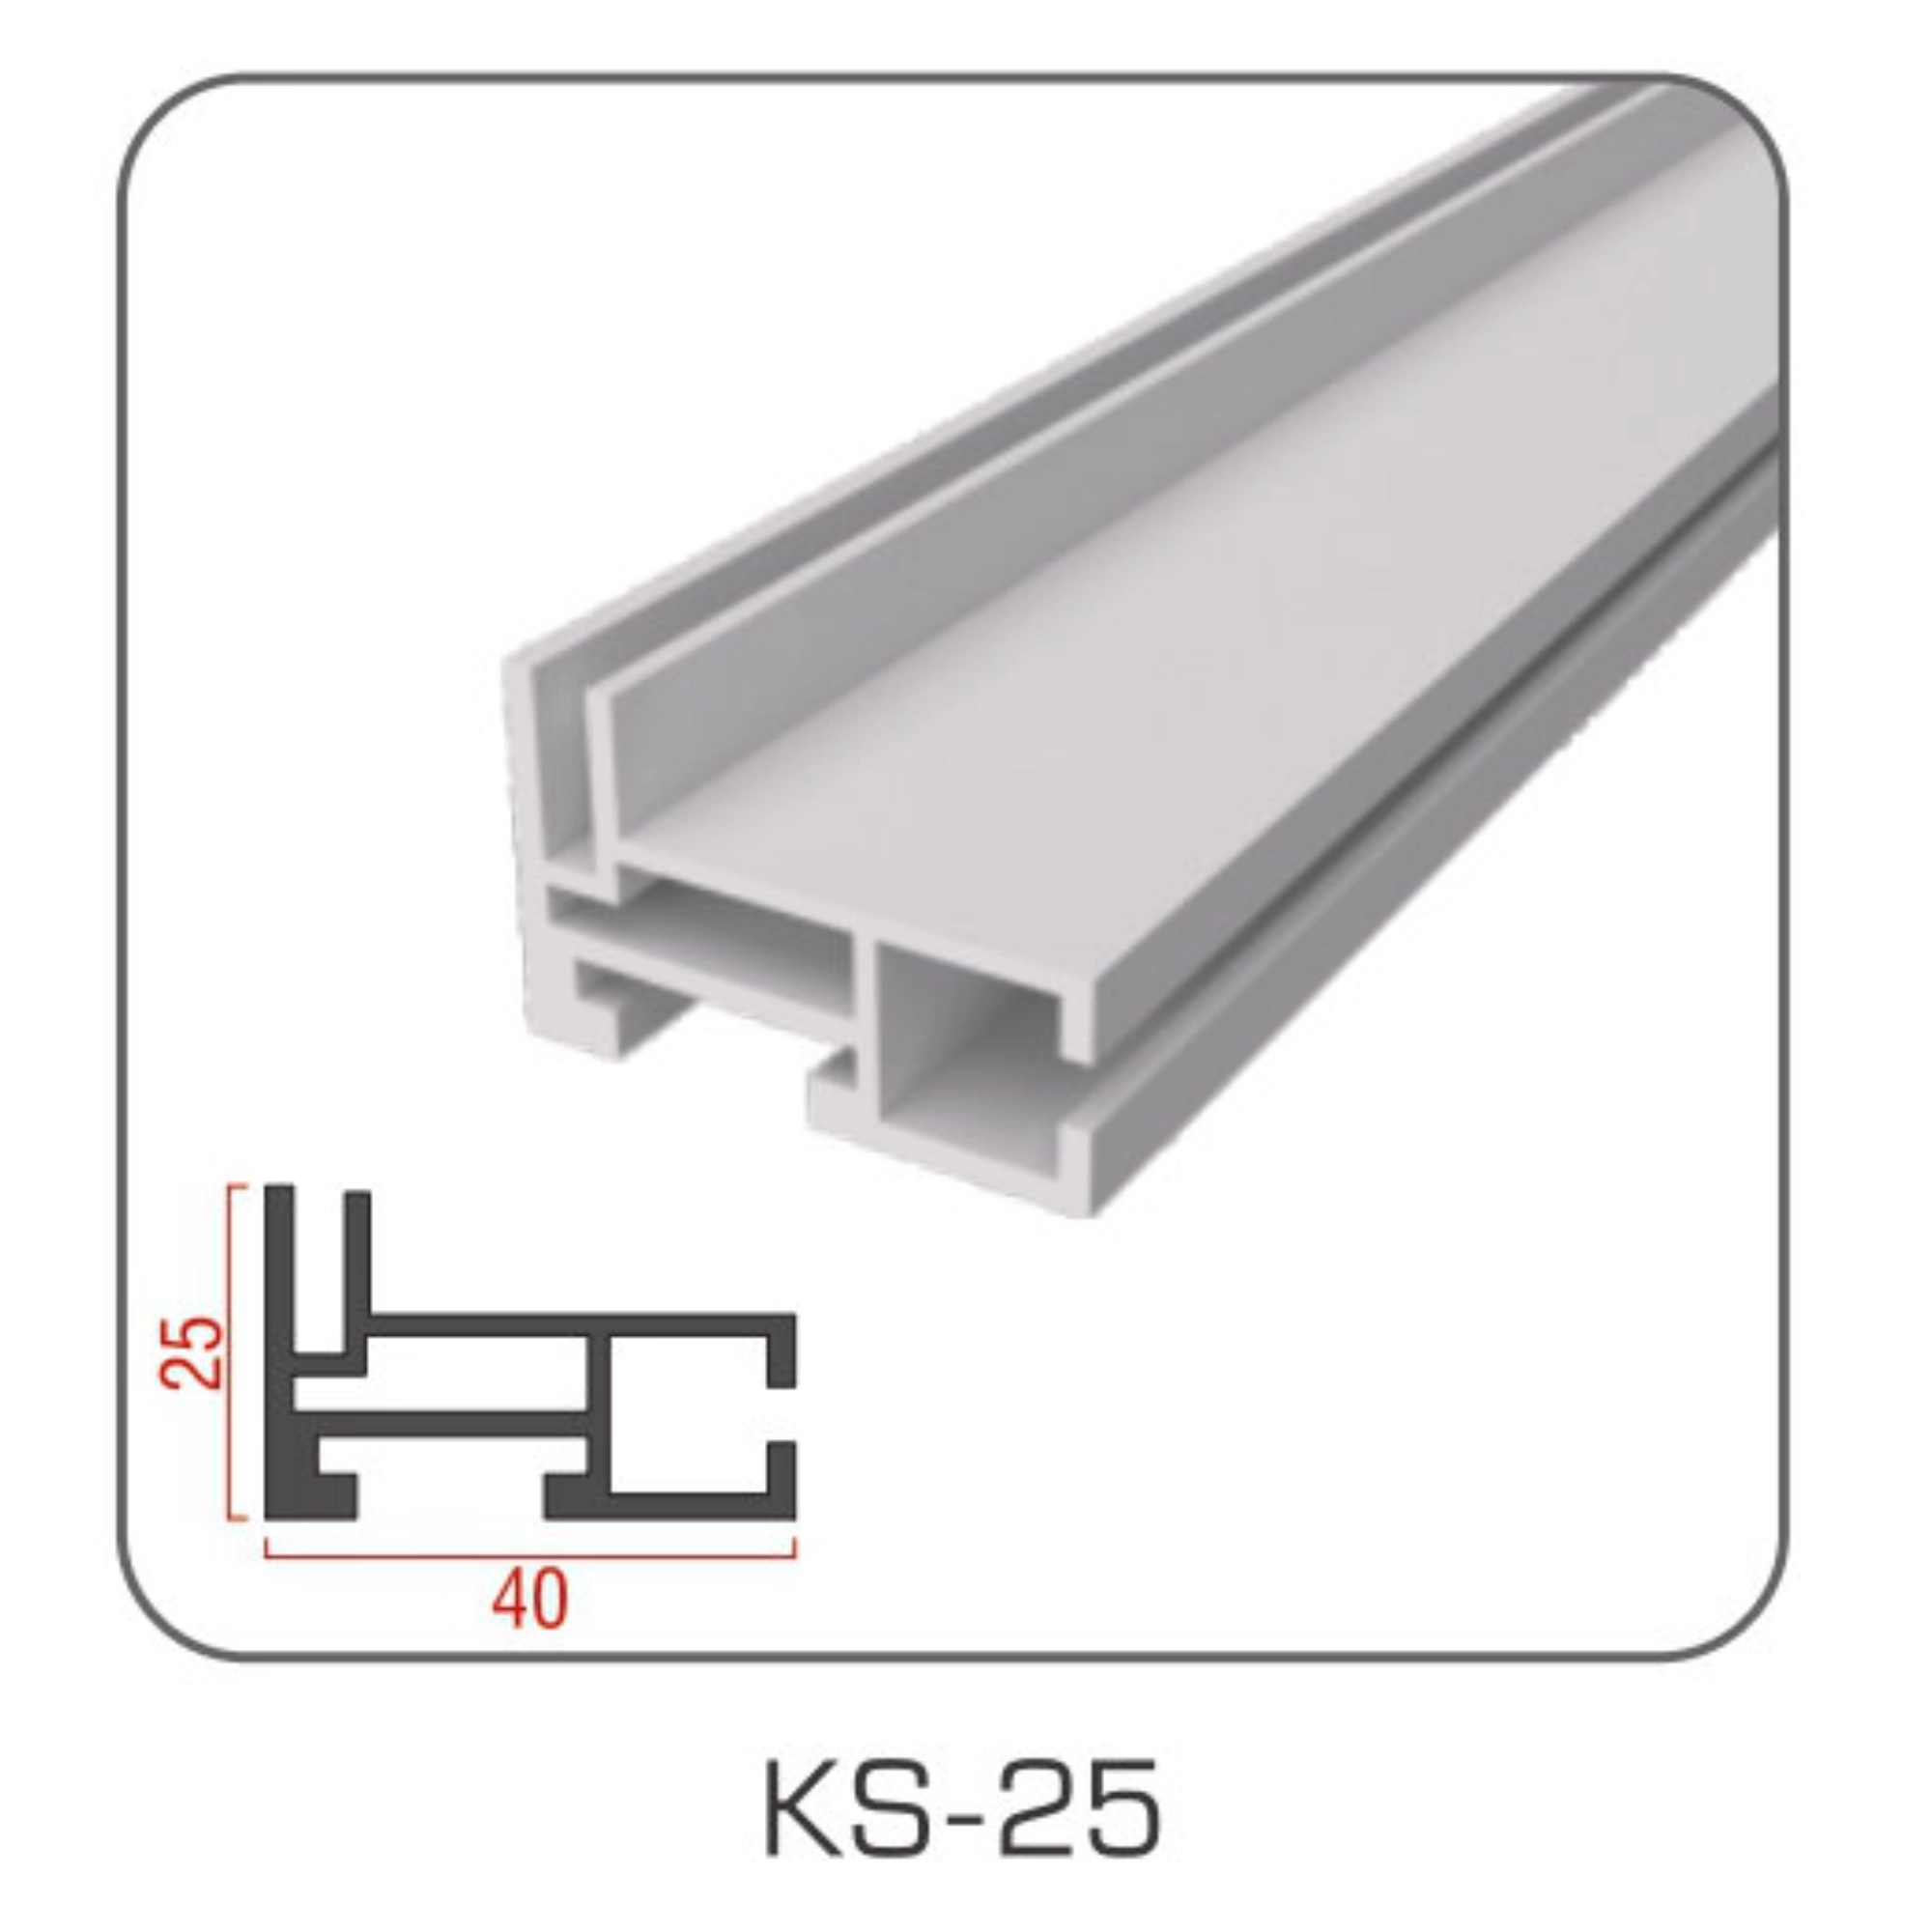
4x Wood-grain aluminum frame profiles
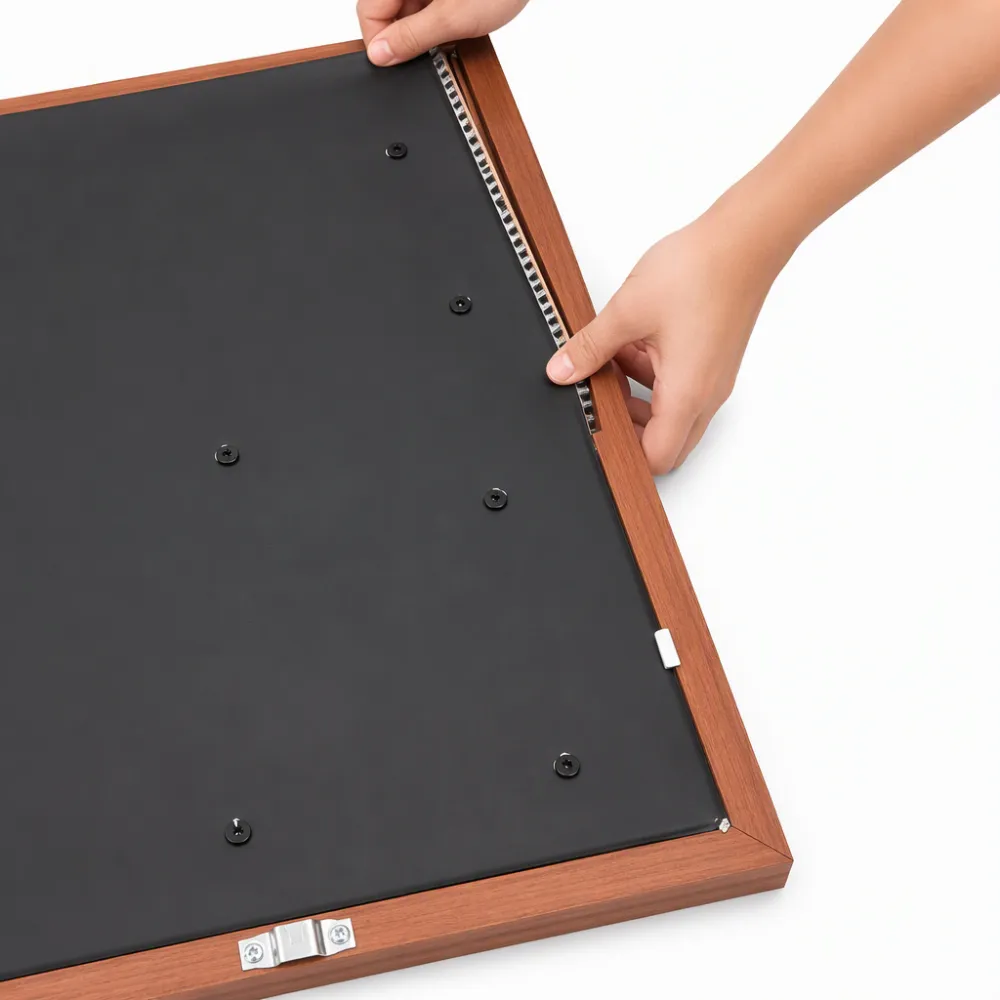
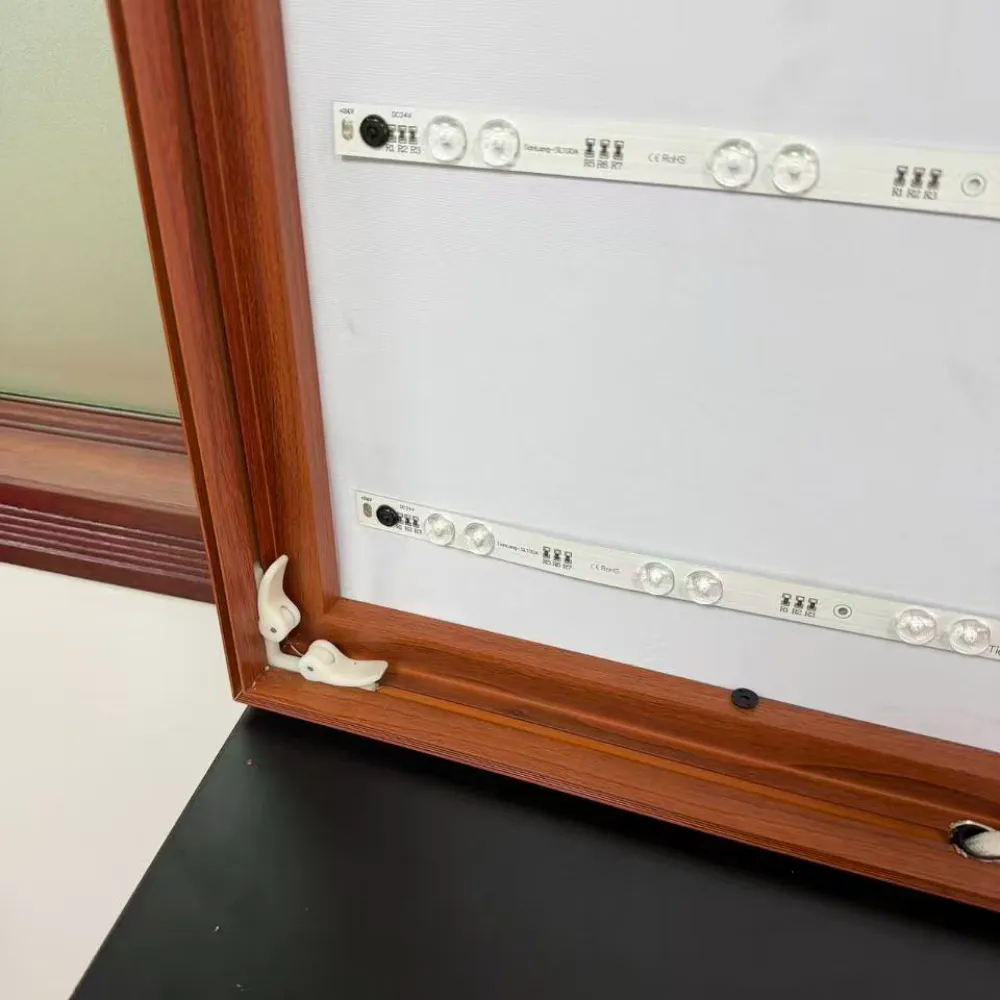
1x Black backing sheet with pre-mounted LED light bars
1x Smart Matter LED controller & Power supply (220V)
2x Printed fabrics (Sunset & Clear Sky) with silicone edges
Quick-lock corner keys & Wall mounting hardware
Rotary remote controller
Step 1: Assemble the Frame
Connect the 4 wood-grain frame profiles using the white quick-lock corner keys. Push them firmly into the corners to create a secure 40" x 40" square.
Step 2: Mount Backing & LED Bars
Place the black backing sheet into the frame , ensuring the wiring is accessible.
Step 3: Connect the Controller
Connect the wiring terminal from the LED light bars to the Matter smart LED controller. This will enable Wi-Fi, App, and Voice control (Apple Home, Google Home, Alexa).
Step 4: Insert the Art Canvas
Lay the frame flat. Take your chosen printed fabric (e.g., the Sunset or Clear Sky canvas) and gently tuck its silicone edge into the groove running along the inside of the frame. Work your way around to ensure the fabric is tight, smooth, and wrinkle-resistant.
Step 5: Mount on the Wall
Use the included wall mounting hardware and template to securely hang the assembled light box on your desired wall. Note: Because it is a large 40x40 inch (101.6x101.6 cm) piece, it is recommended to have two people for this step.
Step 6: Power On & Test
Plug the power supply into a standard outlet. Power on the light box and use the smart wireless dial controller (or your smart home app) to test the dual-color CCT tuning. You can seamlessly transition from the warm Sunset glow to the radiant Clear Sky.
(Note: To change the mood later, simply pop the canvas out of the groove and swap it with the other included fabric!)